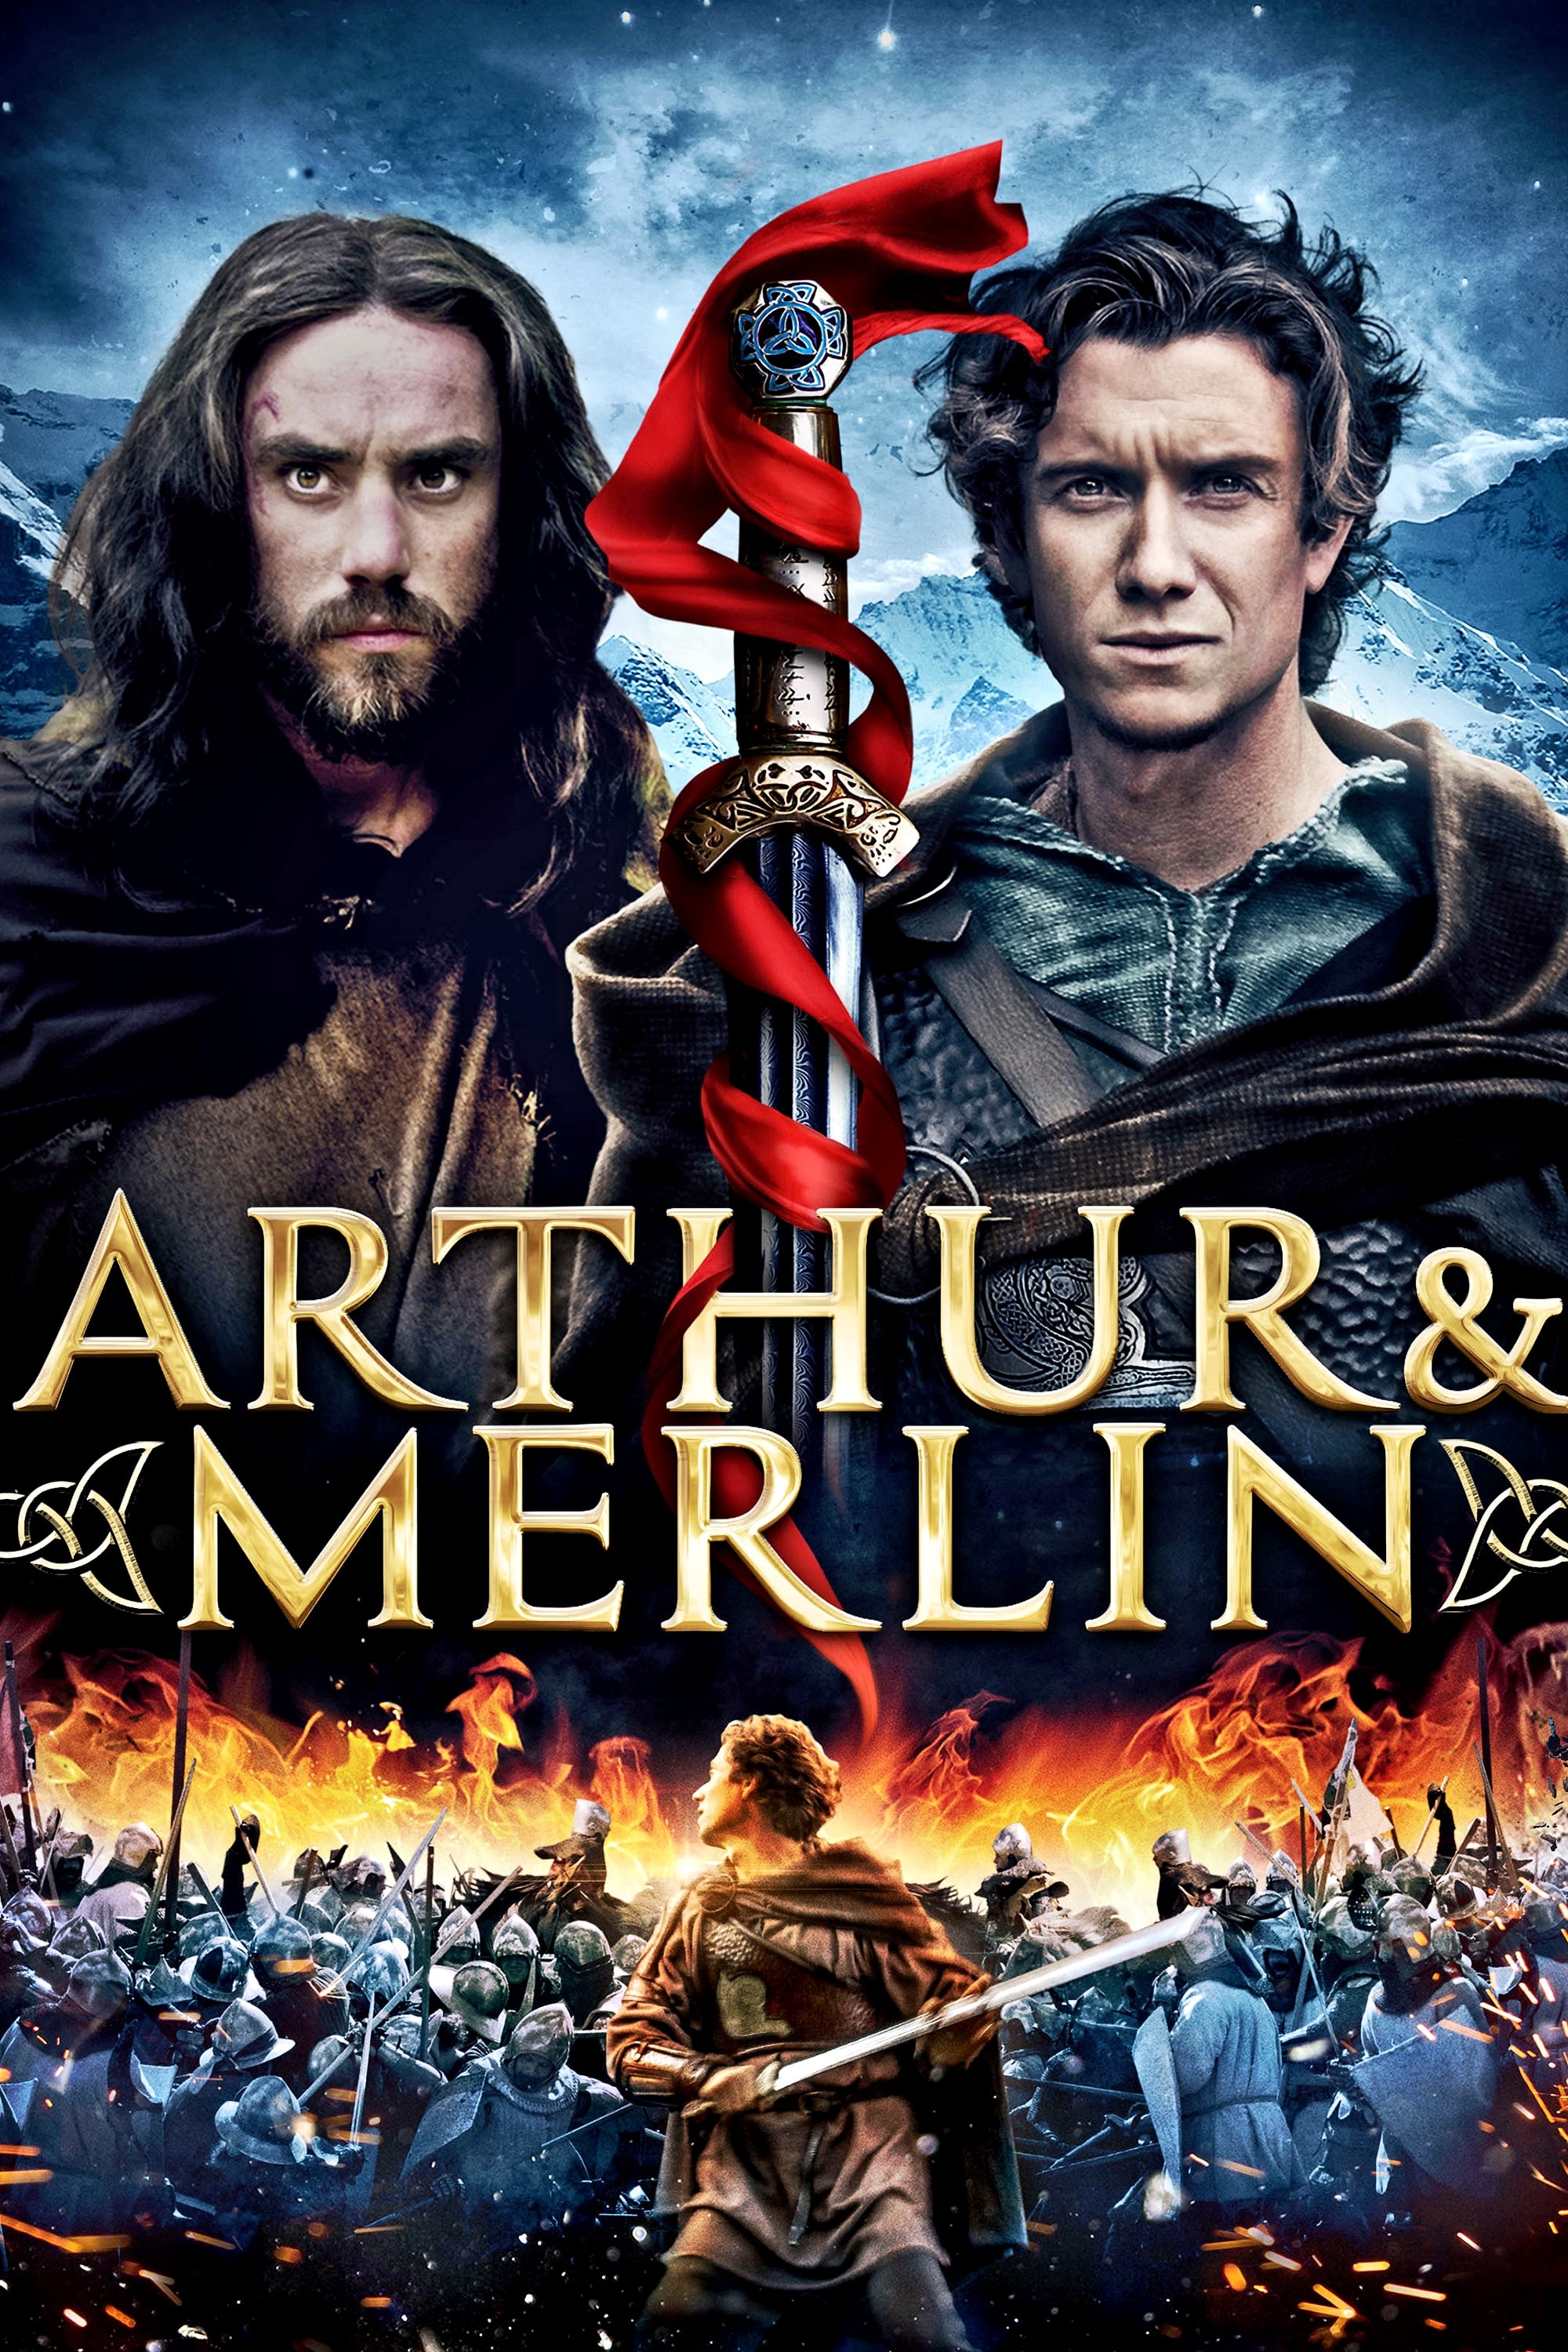
Story Structure — 4 Plot Phases
The Mark of the Tuadaan
The story introduces the ancient struggle between light and darkness, the Saxon threat, and Myrrdin's birth with a mark associated with the Tuadaan. As he grows, he discovers unusual powers and learns the forest and his mark carry special significance.
Key Events
-
Ancient Light and Darkness — The story opens with ancient magic and an ongoing struggle between light and darkness.
Location: Ancient world
-
Saxon Attack on the Celts — Saxon forces attack the Celts as treachery threatens their resistance.
Location: Celtic lands
-
Myrrdin Is Born — Myrrdin is born bearing a mark associated with the Tuadaan. Characters: Myrrdin
Location: Celtic lands
-
A Mark and Growing Powers — As he grows, Myrrdin discovers unusual powers and learns his mark carries responsibility. Characters: Myrrdin
Location: Celtic lands
-
Forbidden Wynar Forest — Myrrdin learns that the sacred forest is forbidden to ordinary people. Characters: Myrrdin
Location: Wynar Forest
A Kingdom Undermined
Aberthol's influence drives the king's military decisions and costs Celtic warriors their lives. A Cornish warrior challenges Aberthol, but the king intervenes by banishing him.
Key Events
-
Aberthol's Disastrous Campaigns — Aberthol's influence leads the king to authorize campaigns that cost Celtic warriors their lives. Characters: Aberthol, King Vortigern
Location: Celtic lands
-
A Warrior Challenges Aberthol — A Cornish warrior challenges Aberthol, who orders the warrior's death. Characters: Aberthol, King Vortigern
Location: The king's court
-
The Warrior Is Banished — King Vortigern intervenes and banishes the warrior instead of allowing his execution. Characters: Aberthol, King Vortigern
Location: The king's court
-
Aberthol's Hidden Purpose — Aberthol's anger reveals that his purpose goes beyond defeating the Saxons. Characters: Aberthol
Location: Celtic lands
The Sword and the Revelation
The banished warrior finds Myrrdin and persuades him to return to the conflict. Myrrdin explains the sword's divine purpose, and the pair discover that Aberthol's sacrifices are intended to summon a dark god.
Key Events
-
Myrrdin's Cave — The banished warrior encounters Myrrdin, who lives apart and studies the Tuadaan's teachings. Characters: Myrrdin
Location: A cave
-
Myrrdin Agrees to Return — After initially refusing to help, Myrrdin agrees to face the suffering of his people. Characters: Myrrdin
Location: A cave
-
The Warrior's Divine Sword — Myrrdin explains that the sword is a divine weapon meant to answer the darkness. Characters: Myrrdin
Location: On the journey
-
Sacrifices Summon a Dark God — Aberthol has been sacrificing Celtic lives to summon a dark god he believes he can command. Characters: Aberthol
Location: Celtic lands
-
Souls Trapped by the God — The god holds the victims' souls, including those of the warrior's friends and Myrrdin's mother. Characters: Myrrdin
Location: The dark god's domain
The Unfinished Confrontation
Myrrdin and the warrior resolve to destroy the god and free the trapped souls, while allies pledge support for the journey to Dinas Affaraon. The supplied excerpt ends with Olwen confronting Aberthol, before the final confrontation or outcome is revealed.
Key Events
-
Resolve to Destroy the God — Myrrdin and the warrior resolve to destroy the god and free the trapped souls. Characters: Myrrdin
Location: Celtic lands
-
Allies Pledge Support — Allies pledge support as the group prepares to confront Aberthol's scheme. Characters: Myrrdin
Location: Celtic lands
-
Journey to Dinas Affaraon — The group sets out for Dinas Affaraon as Aberthol's scheme nears completion. Characters: Myrrdin
Location: Dinas Affaraon
-
Olwen Confronts Aberthol — Olwen warns Aberthol, who says the dark god is nearly satisfied and implies she will be involved. Characters: Olwen, Aberthol
Location: Aftermath of a major defeat