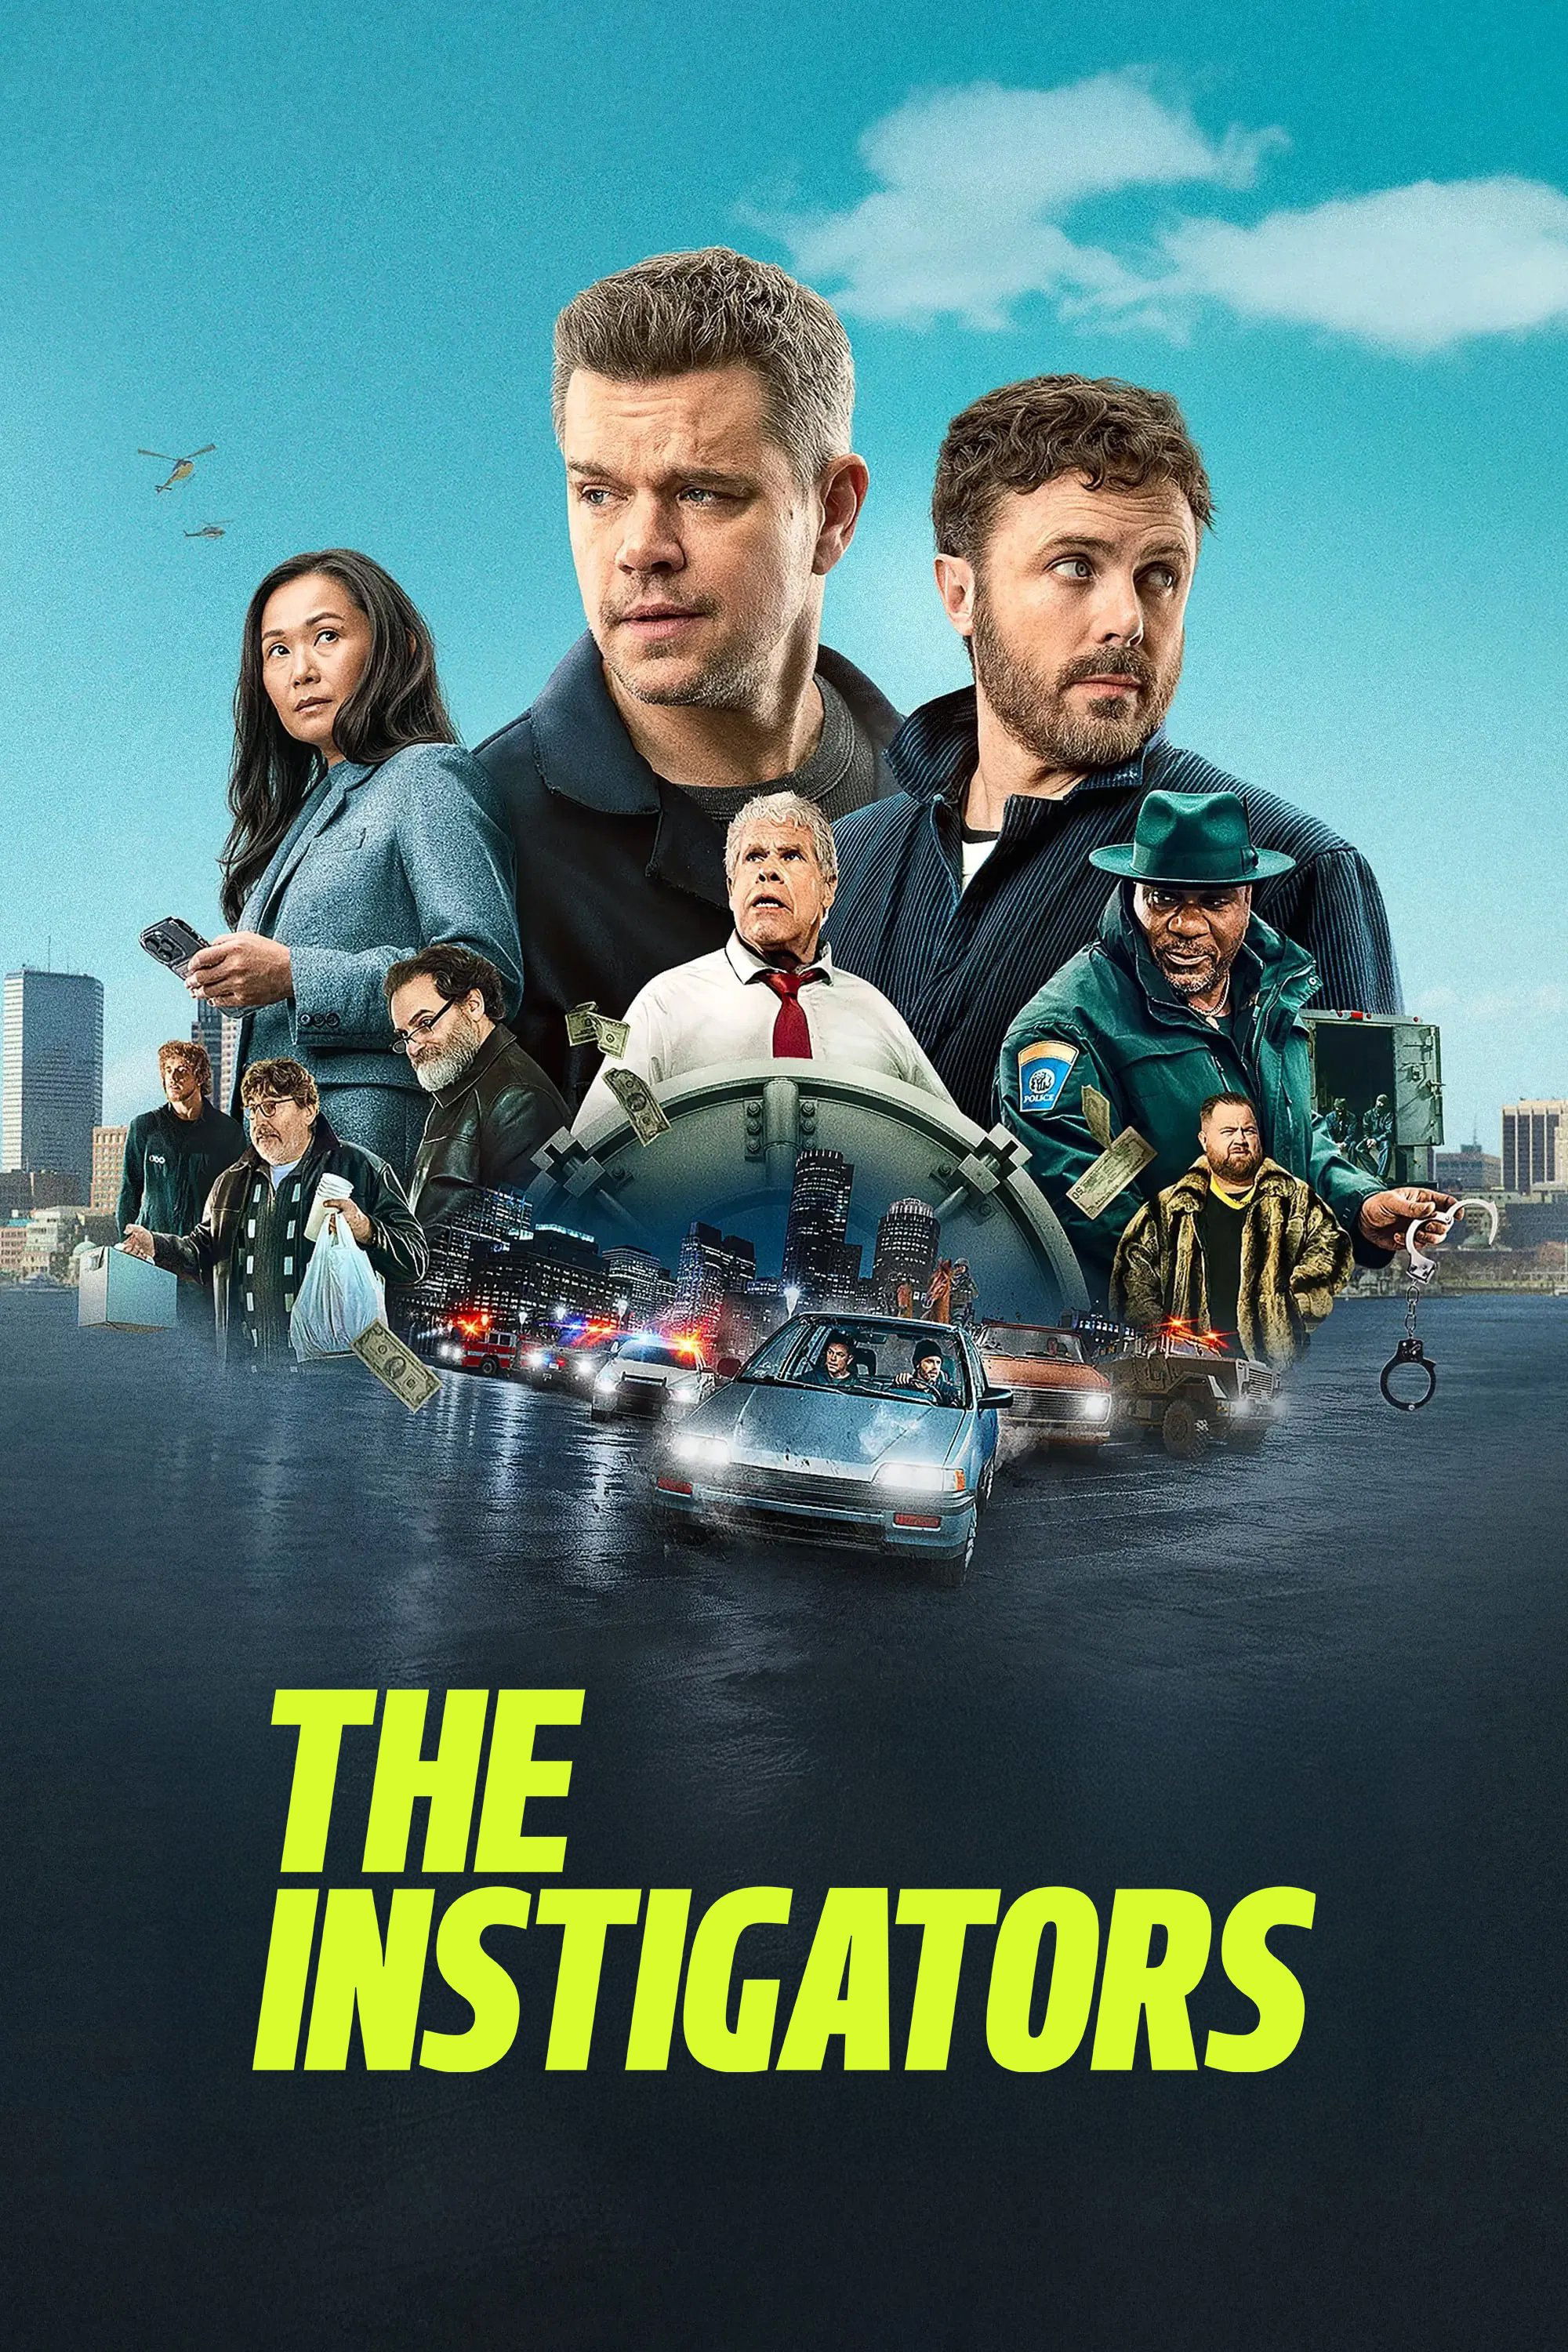
Story Structure — 4 Plot Phases
The Empty Safe
Rory, Cobby, and Scalvo attempt to rob an election celebration. The safe is empty, so Scalvo steals a bracelet and the getaway becomes a deadly shootout.
Key Events
-
Election Night Heist Plan — The crew prepares to steal expected bribes from a corrupt mayoral election celebration. Characters: Rory, Cobby, Scalvo
Location: Boston
-
Rory Names His Price — Rory insists on receiving exactly $32,480 for a personal purpose. Characters: Rory
Location: Therapist's office
-
Kelly Warns Cobby — Mr. Kelly warns Cobby against returning to his criminal ways. Characters: Cobby, Mr. Kelly
Location: Bar
-
The Wharf Infiltration — The three robbers enter through the kitchen but find the celebration still crowded. Characters: Rory, Cobby, Scalvo
Location: The Wharf
-
The Safe Is Empty — The expected cash is gone, forcing Scalvo to rob the mayor and his inner circle. Characters: Rory, Cobby, Scalvo
Location: The Wharf
-
Bracelet Taken — Scalvo steals the mayor's bracelet instead of the missing safe cash. Characters: Scalvo
Location: The Wharf
Explosions And Pursuit
Rory and Cobby flee with an injury and seek shelter. Criminal retaliation, a manhunt, and the bracelet's hidden secret force them into increasingly desperate escapes.
Key Events
-
Fatal Wharf Shootout — Scalvo and the police chief shoot each other during the chaotic getaway. Characters: Scalvo
Location: The Wharf
-
Armored Car Escape — Wounded Cobby escapes with Rory, but they abandon the truck after finding another guard inside. Characters: Rory, Cobby
Location: Boston streets
-
Shelter Turns Dangerous — Rory and Cobby seek help through their criminal contacts while hiding at Kelly's house. Characters: Rory, Cobby, Mr. Kelly
Location: Mr. Kelly's house
-
The Bracelet's Secret — Toomey learns that the stolen bracelet contains the combination to the mayor's office safe. Characters: Rory, Cobby, Frank Toomey
Location: Boston
The Fugitive Alliance
Cobby receives medical treatment while Rory tries to keep their escape alive. A police chase and two confrontations push the fugitives toward a final plan.
Key Events
-
Exploding Safehouse — Rory and Cobby cut the gas line, escape an attempted killing, and survive the house explosion. Characters: Rory, Cobby
Location: Mr. Kelly's house
-
A Reluctant Hostage — Rory brings the wounded Cobby to his therapist, who agrees to serve as a willing hostage. Characters: Rory, Cobby
Location: Therapist's office
-
Police Chase Begins — The group flees in a car after the therapist contacts police, surviving a high-speed pursuit. Characters: Rory, Cobby
Location: Boston roads
-
Bar Confrontation — Toomey confronts the fugitives at the empty bar and leaves with the therapist and bracelet. Characters: Rory, Cobby, Frank Toomey
Location: Mr. Kelly's bar
-
Second Bar Explosion — Surrounded by police, Cobby cuts the gas line and escapes with Rory through an explosion. Characters: Rory, Cobby
Location: Mr. Kelly's bar
Cash Falls From City Hall
Disguised as firefighters, Rory and Cobby break into City Hall and uncover cash and evidence of corruption. A siege ends with the safe thrown into the street.
Key Events
-
Firefighter Disguise — Rory and Cobby disguise themselves as firefighters and trigger alarms to enter City Hall. Characters: Rory, Cobby
Location: City Hall
-
Safe And Evidence Found — They open the safe, discover millions in illicit cash, and obtain drives documenting corruption. Characters: Rory, Cobby
Location: Mayor's office
-
City Hall Siege — Police open fire, Cobby is wounded again, and the safe is pushed out of a window. Characters: Rory, Cobby, Frank Toomey
Location: City Hall
-
Armored Vehicle Interception — Toomey intercepts Rory and Cobby, who offer the evidence drives for freedom but are taken into custody. Characters: Rory, Cobby, Frank Toomey
Location: Boston streets
-
Second Chance Escape — The new mayor uses the corruption evidence to release Rory and Cobby under his reform platform. Characters: Rory, Cobby, Mark Choi
Location: Boston