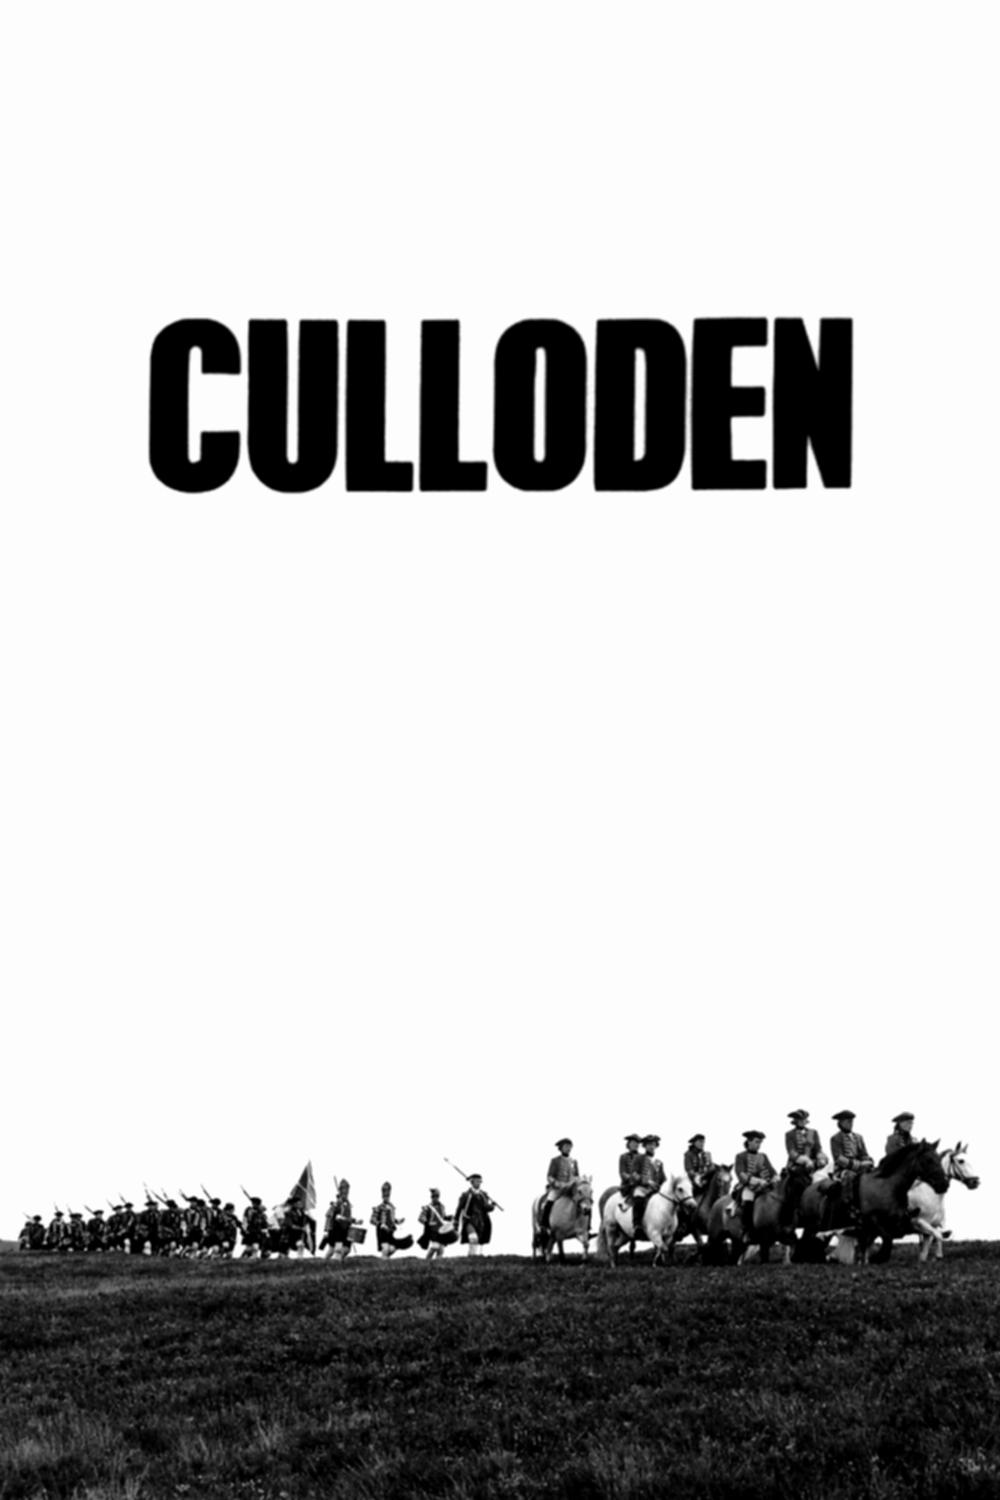
Story Structure — 5 Plot Phases
The Armies Assemble
The Jacobite and government armies meet at Culloden Moor. Their unequal numbers, training, supplies, and battlefield conditions establish the immediate imbalance.
Key Events
-
Armies Meet at Culloden — The Jacobite and government armies face one another on April 16, 1746.
Location: Culloden Moor, Scotland
-
Jacobite Army Awaits — Fewer than 5,000 Jacobite troops await the larger government force.
Location: Culloden Moor
-
Exhausted Highland Forces — Many Jacobite troops are conscripted, hungry, and exhausted before battle.
Location: Culloden Moor
-
Government Army Advantage — The larger, trained government army holds favorable ground for cavalry and artillery.
Location: Culloden Moor
-
Jacobite Artillery Opens Fire — Jacobite artillery fires first, but its shots fail to reach government troops.
Location: Culloden Moor
Artillery Under Fire
The Jacobite opening artillery attack fails to reach its target. Government roundshot then causes heavy casualties while the Jacobites hold their line.
Key Events
-
Jacobite Artillery Opens Fire — Jacobite artillery fires first, but its shots fail to reach government troops.
Location: Culloden Moor
-
Government Guns Respond — Government artillery answers with roundshot and inflicts heavy Jacobite casualties.
Location: Culloden Moor
-
The Line Holds — The Jacobite army is ordered to hold its line and tempt an advance.
Location: Culloden Moor
-
Twenty Nine Minutes Fire — Jacobite troops endure twenty-nine minutes of government artillery fire.
Location: Culloden Moor
-
Advance Is Ordered — The Jacobite army finally receives orders to advance.
Location: Culloden Moor
The Broken Charge
The Jacobites advance after twenty-nine minutes of artillery fire. Their highland charge is shattered by grapeshot and crossfire, forcing a disorderly withdrawal.
Key Events
-
Advance Is Ordered — The Jacobite army finally receives orders to advance.
Location: Culloden Moor
-
Highland Charge Begins — The Jacobite army launches its highland charge across the battlefield.
Location: Culloden Moor
-
Crossfire Breaks Charge — Grapeshot and crossfire cause heavy losses during the Jacobite charge.
Location: Culloden Moor
-
Jacobite Withdrawal — The Jacobite army withdraws from the battlefield in disarray.
Location: Culloden Moor
-
Irish Units Stand — Two Jacobite Irish units make a final stand with 150 men.
Location: Culloden Moor
-
Cavalry Cuts Down Stand — Government cavalry cuts down the two Irish units during their last stand.
Location: Culloden Moor
Defeat and Reprisal
Government forces win decisively and pursue fleeing Jacobites. Captured supporters receive severe sentences, including imprisonment, execution, and transportation.
Key Events
-
Battle Victory Confirmed — The government wins clearly, suffering 50 casualties against 1,200 Jacobite losses.
Location: Culloden Moor
-
Fugitives Are Hunted — Nearly 100 fleeing Jacobites are killed or injured by government troops.
Location: Roads toward Inverness
-
Captives Receive Sentences — Captured Jacobites face imprisonment, execution, or transportation to American colonies.
Location: Government-controlled Scotland
-
Stuart Loses Trust — Stuart believes his Jacobite followers have betrayed him after the defeat.
Location: Scotland
Flight and Pacification
Stuart loses faith in his followers, disbands the army, and escapes to France after a five-month manhunt. Government troops continue a brutal campaign against remaining Jacobites.
Key Events
-
Stuart Loses Trust — Stuart believes his Jacobite followers have betrayed him after the defeat.
Location: Scotland
-
Army Is Disbanded — Stuart disbands the remnants of the Jacobite army and takes its funds.
Location: Scotland
-
Escape After Manhunt — After a five-month manhunt, Stuart escapes to France.
Location: Scotland to France
-
Pacification Campaign — Government troops conduct a brutal campaign against remaining Jacobites.
Location: Scotland