Story Structure — 6 Plot Phases
A Buyout Under Threat
Gondo prepares to seize control of National Shoes through a heavily mortgaged buyout. A ransom call suddenly threatens both his finances and his moral judgment.
Key Events
-
National Shoes Power Struggle — Gondo opposes executives advocating cheap shoes and prepares a costly long-term strategy. Characters: Kingo Gondo, Baba - National Shoes Executive, Ishimaru, National Shoes Design Department Director
Location: National Shoes headquarters
-
The Leveraged Buyout — Gondo mortgages his property to gain control of National Shoes. Characters: Kingo Gondo, First Creditor
Location: Gondo's house
-
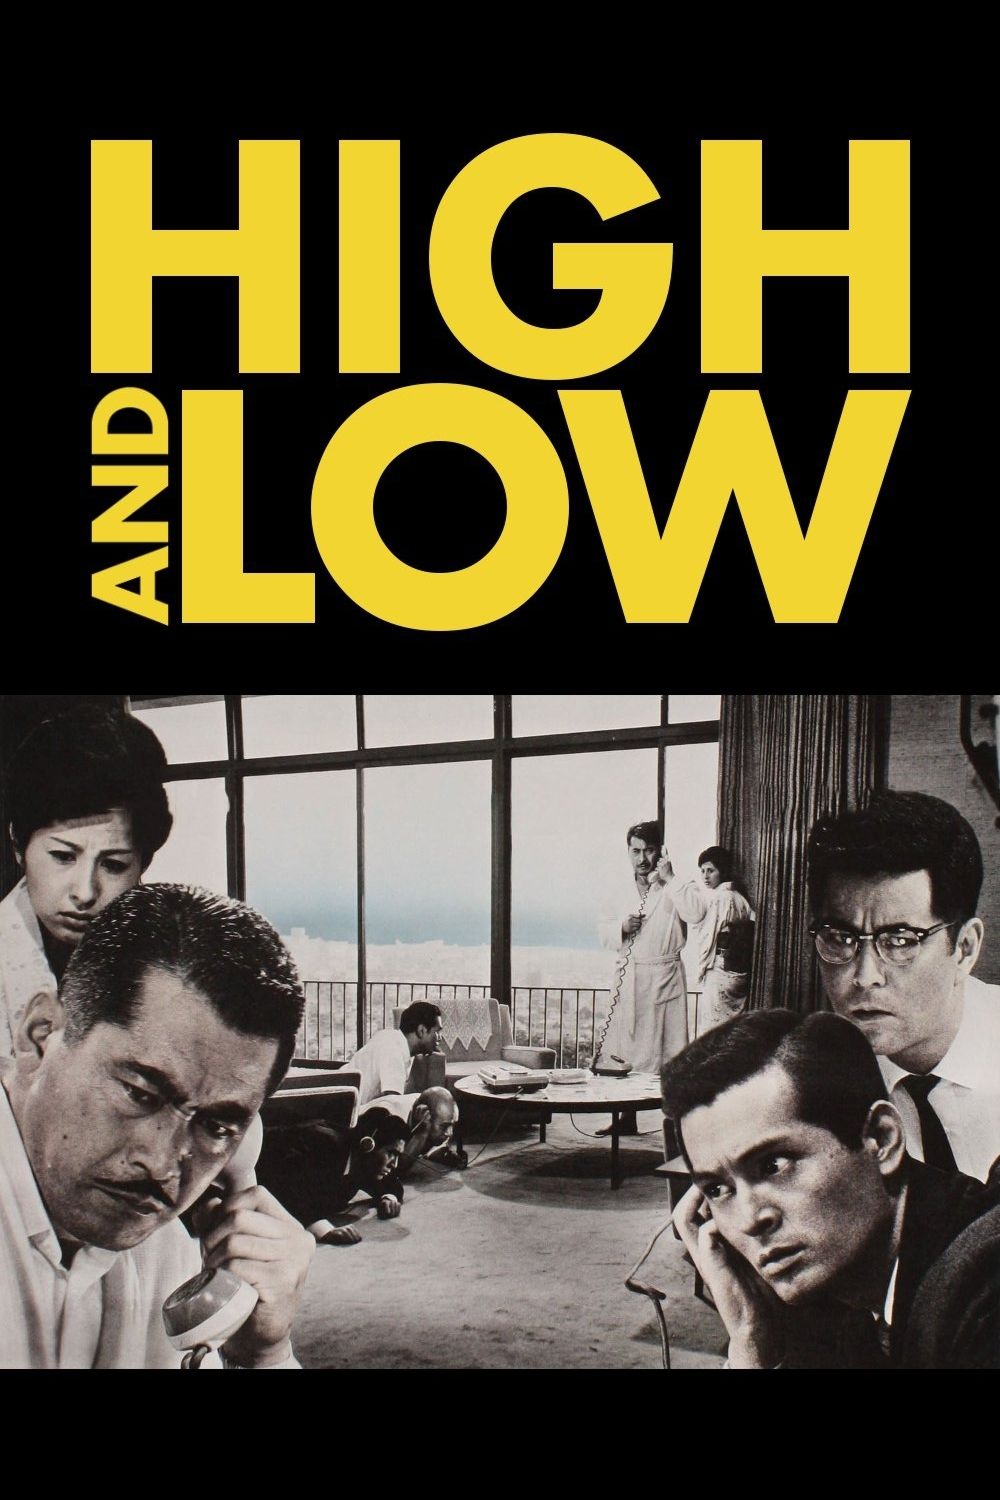
The Ransom Telephone Call — A caller claims that Gondo's son has been kidnapped and demands a ransom. Characters: Kingo Gondo, Ginjirô Takeuchi - Medical Intern
Location: Gondo's house
-
The Kidnapper's Mistake — Gondo learns that the abducted child is Aoki's son, not his own. Characters: Kingo Gondo, Aoki - the Chauffeur, Ginjirô Takeuchi - Medical Intern
Location: Gondo's house
The Cost of Compassion
The kidnapping is revealed to be a mistaken abduction involving Aoki's son. Gondo initially protects his corporate future, but Aoki's pleas force him to reconsider.
Key Events
-
Gondo Refuses Payment — Gondo initially refuses to pay because the ransom could destroy his finances and career. Characters: Kingo Gondo, Aoki - the Chauffeur
Location: Gondo's house
-
Corporate Betrayal — Gondo's top aide reveals the kidnapping to the cheap-shoe faction for a promised promotion. Characters: Kingo Gondo, Baba - National Shoes Executive
Location: National Shoes headquarters
-
A Plea for the Child — Aoki's pleading and pressure from Gondo's family change Gondo's decision. Characters: Kingo Gondo, Aoki - the Chauffeur
Location: Gondo's house
The Ransom Exchange
Gondo accepts the ransom demand and works with police to prepare deceptive briefcases. The money is thrown from a moving train, and the child is recovered.
Key Events
-
The Ransom Briefcases — Gondo and police prepare marked briefcases designed to release odor or pink smoke. Characters: Kingo Gondo, Chief of Investigation Section, Chief of First Investigating Section
Location: Gondo's house
-
Money From the Moving Train — The ransom is thrown from a moving train while police monitor the exchange. Characters: Kingo Gondo, Chief of Investigation Section, Chief of First Investigating Section, Ginjirô Takeuchi - Medical Intern
Location: Moving train
-
The Child Is Recovered — The abducted child is found alive at the ransom drop site. Characters: Kingo Gondo, Aoki - the Chauffeur, Chief of Investigation Section
Location: Ransom drop site
The Investigation Closes In
Police connect the hideout deaths, drug evidence, and pink smoke to Takeuchi. Meanwhile, Gondo loses his company and property despite becoming a public hero.
Key Events
-
The Hideout Bodies — Police discover two accomplices dead from heroin overdoses at the hideout. Characters: Chief of Investigation Section, Chief of First Investigating Section, Ginjirô Takeuchi - Medical Intern, Murder Victim
Location: Kidnappers' hideout
-
Gondo Loses National Shoes — Gondo is forced out of the company as creditors demand his collateral. Characters: Kingo Gondo, First Creditor, First Executor at Tax Office, Baba - National Shoes Executive
Location: National Shoes headquarters
-
The Press Campaign — Police and publicity officials spread the kidnapping story and misdirect the kidnapper. Characters: Chief of Investigation Section, First Reporter, Kamiya, National Shoes Publicity Director, Kingo Gondo
Location: Press offices
-
Pink Smoke Identifies Takeuchi — A trail of clues and pink smoke leads police to Takeuchi, a medical intern. Characters: Chief of Investigation Section, Chief of First Investigating Section, Ginjirô Takeuchi - Medical Intern
Location: Nearby hospital
-
The False Newspaper Story — Police falsely report that the accomplices live and send Takeuchi a forged demand for drugs. Characters: Chief of Investigation Section, First Reporter, Ginjirô Takeuchi - Medical Intern, Messenger Passing Note to Intern
Location: Newspaper office and hideout
The Final Trap
A false newspaper story and forged note lure Takeuchi back to the hideout. He is arrested after another lethal drug test, but Gondo's financial ruin remains irreversible.
Key Events
-
The Fatal Drug Test — Takeuchi tests the drugs on an addict, who overdoses and dies. Characters: Ginjirô Takeuchi - Medical Intern, Female Drug Addict
Location: Drug den
-
Return to the Hideout — Takeuchi returns to supply another lethal dose and encounters the waiting police. Characters: Ginjirô Takeuchi - Medical Intern, Chief of Investigation Section, Chief of First Investigating Section
Location: Accomplices' hideout
-
Takeuchi Is Arrested — Police arrest Takeuchi and recover most of the ransom money. Characters: Ginjirô Takeuchi - Medical Intern, Chief of Investigation Section, Chief of First Investigating Section
Location: Accomplices' hideout
A Divided Meeting
Gondo finds a freer but poorer life at a rival company. In prison, Takeuchi explains his envy before being taken away behind a dividing screen.
Key Events
-
Gondo's New Freedom — Gondo loses his property but begins working for a rival shoe company with greater freedom. Characters: Kingo Gondo
Location: Rival shoe company
-
The Prison Face-Off — Takeuchi explains his envy before guards drag him away and the screen separates them. Characters: Kingo Gondo, Ginjirô Takeuchi - Medical Intern
Location: Prison visiting room