Story Structure — 5 Plot Phases
From Spectacle To Shelter
Treves discovers Merrick being exhibited by Bytes and brings him to the London Hospital after severe abuse. The hospital must decide whether Merrick can remain despite its policy against incurables.
Key Events
-
Treves Finds Merrick — Treves discovers Merrick being exhibited under Bytes's control. Characters: Frederick Treves, John Merrick, Bytes' Boy
Location: East End freak show
-
Hospital Examination — Treves presents Merrick's physical abnormalities to hospital colleagues. Characters: Frederick Treves, John Merrick, Carr Gomm
Location: London Hospital
-
Merrick Is Beaten — Bytes beats Merrick, prompting a call for Treves's medical help. Characters: John Merrick, Bytes' Boy, Frederick Treves, Night Porter
Location: Freak-show quarters
-
Return To The Hospital — Treves brings the injured Merrick back for care. Characters: Frederick Treves, John Merrick, Mothershead
Location: London Hospital
-
The Residence Dispute — Carr Gomm objects because the hospital does not accept incurables. Characters: Frederick Treves, John Merrick, Mothershead, Carr Gomm
Location: London Hospital
The Voice Behind The Mask
Treves teaches Merrick to speak, but Merrick surpasses the demonstration by reciting the entire 23rd Psalm. His intelligence earns permission to stay and begin a more dignified life.
Key Events
-
Teaching Merrick Speech — Treves trains Merrick to speak sentences and part of the 23rd Psalm. Characters: Frederick Treves, John Merrick
Location: Merrick's hospital room
-
The Complete Psalm — Merrick recites the entire Psalm and proves that he can read. Characters: Frederick Treves, John Merrick, Carr Gomm
Location: London Hospital
-
Permanent Residence Granted — Carr Gomm permits Merrick to stay permanently after recognizing his intelligence. Characters: John Merrick, Carr Gomm, Frederick Treves
Location: London Hospital
-
Cathedral Model — Merrick spends his time building a model of a cathedral visible from his window. Characters: John Merrick, Frederick Treves
Location: Merrick's hospital room
Dignity On Display
Merrick builds a cathedral model and forms social connections while visitors from high society enter his room. Mothershead and Treves recognize that admiration may still conceal exploitation.
Key Events
-
Family Photographs — Merrick discusses his mother's picture while viewing Treves's family photographs. Characters: John Merrick, Frederick Treves
Location: Treves's home
-
High Society Visits — Merrick receives distinguished guests and participates in literary social encounters. Characters: John Merrick, Frederick Treves, Mothershead
Location: Merrick's hospital room
-
Ethical Doubts Emerge — Mothershead objects that Merrick is still being displayed as a freak. Characters: Frederick Treves, John Merrick, Mothershead
Location: London Hospital
-
Nighttime Ticket Sales — The night porter sells access to locals who come to gawk at Merrick. Characters: John Merrick, Night Porter, Mothershead
Location: London Hospital
-
Council Grants Residence — Merrick receives permanent residence after royal approval reaches the governors. Characters: John Merrick, Carr Gomm, Frederick Treves, Mothershead, Princess Alex
Location: Hospital council chamber
The Captive Returns
Nighttime ticket sales create an opening for Bytes to kidnap Merrick. Merrick is forced back into the circus world, where Bytes's abuse leaves him weak and abandoned.
Key Events
-
Council Grants Residence — Merrick receives permanent residence after royal approval reaches the governors. Characters: John Merrick, Carr Gomm, Frederick Treves, Mothershead, Princess Alex
Location: Hospital council chamber
-
Bytes Kidnaps Merrick — Bytes kidnaps Merrick during a raucous nighttime showing. Characters: John Merrick, Bytes' Boy, Night Porter, Frederick Treves
Location: London Hospital
-
Porter Is Fired — Treves confronts the porter, and Mothershead dismisses him for the unauthorized exploitation. Characters: Frederick Treves, Mothershead, Night Porter
Location: London Hospital
-
Forced Circus Tour — Bytes takes Merrick on the road while Merrick becomes weak and seriously ill. Characters: John Merrick, Bytes' Boy
Location: Belgian circus
-
Caged In Belgium — Bytes locks the dying Merrick in a cage and leaves him overnight. Characters: John Merrick, Bytes' Boy
Location: Belgian circus grounds
-
Freak Show Escape — Merrick is released when the other freak-show attractions escape Bytes. Characters: John Merrick, Bytes' Boy
Location: Belgian circus grounds
A Human Being
After escaping, Merrick is attacked by a mob at Liverpool Street station and asserts his humanity. He returns to the hospital, receives public honor, and dies peacefully after completing his cathedral.
Key Events
-
Station Mob Attack — Merrick is harassed, unmasked, chased, and cornered by an angry mob. Characters: John Merrick
Location: Liverpool Street station
-
I Am A Man — Merrick cries that he is not an animal but a human being and a man. Characters: John Merrick
Location: Liverpool Street station
-
Return To Hospital — Policemen return Merrick to the hospital, where Treves apologizes for his ordeal. Characters: John Merrick, Frederick Treves, Mothershead
Location: London Hospital
-
Pantomime Ovation — Merrick attends a pantomime and receives a standing ovation from the audience. Characters: John Merrick, Frederick Treves, Mothershead, Princess Alex
Location: Pantomime theater
-
Merrick Dies Peacefully — Merrick completes his model, lies on his back, and dies after envisioning his mother. Characters: John Merrick, Frederick Treves
Location: Merrick's hospital room
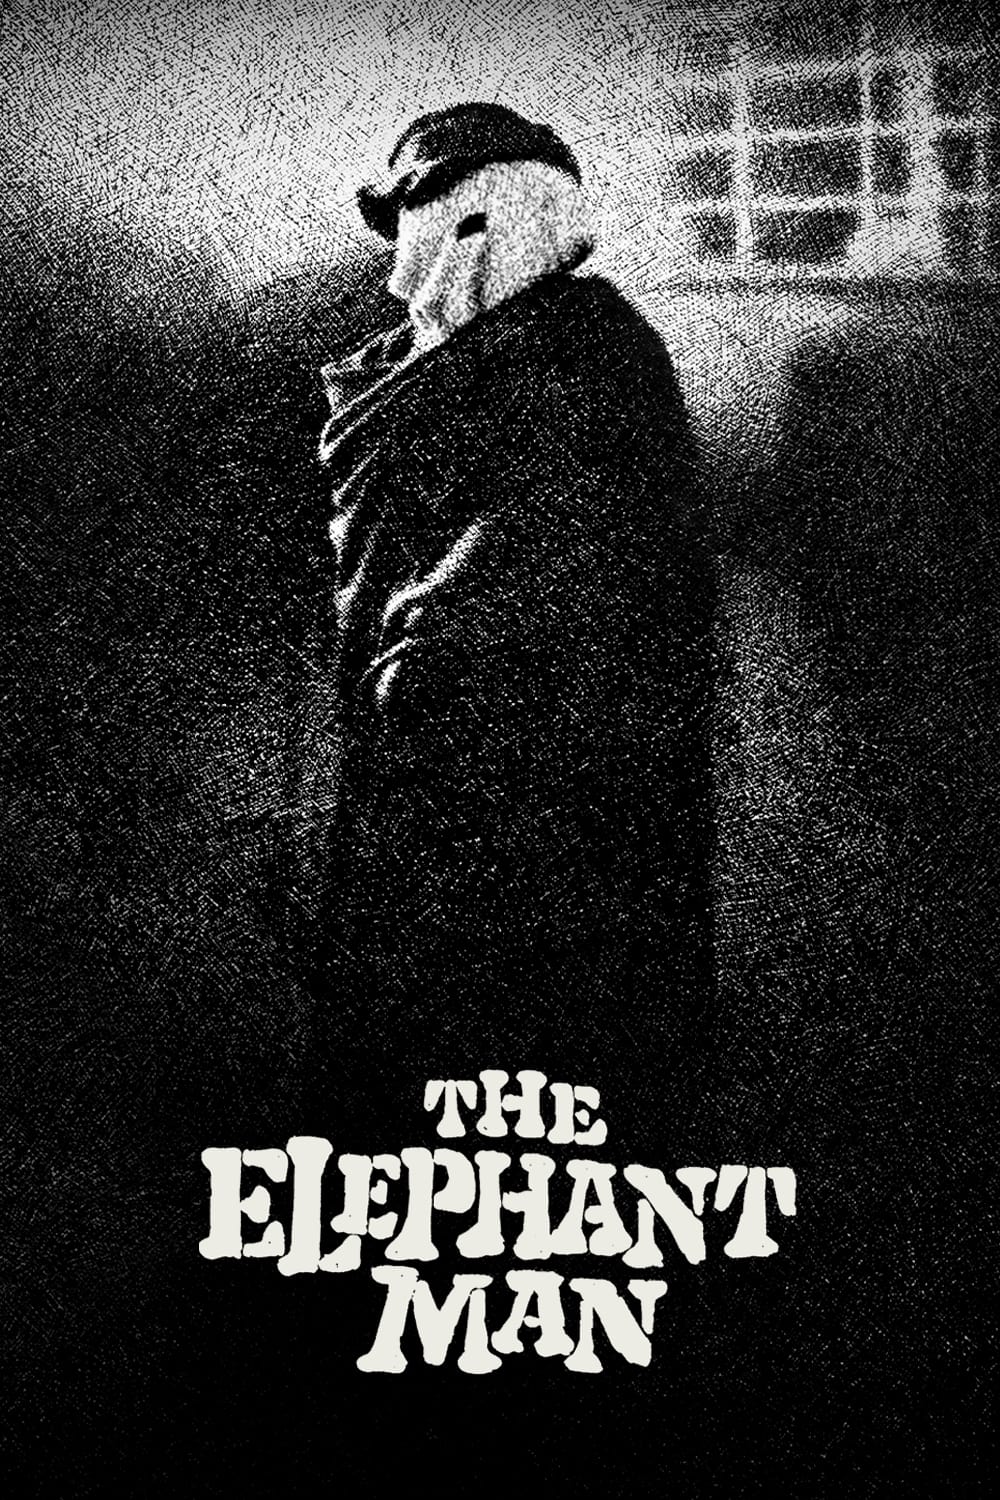
A Victorian surgeon rescues a heavily disfigured man being mistreated by his "owner" as a side-show freak. Behind his monstrous façade, there is revealed a person of great intelligence and sensitivity. Based on the true story of Joseph Merrick (called John Merrick in the film), a severely deformed man in 19th century London.