Story Structure — 5 Plot Phases
The Photograph That Changes Everything
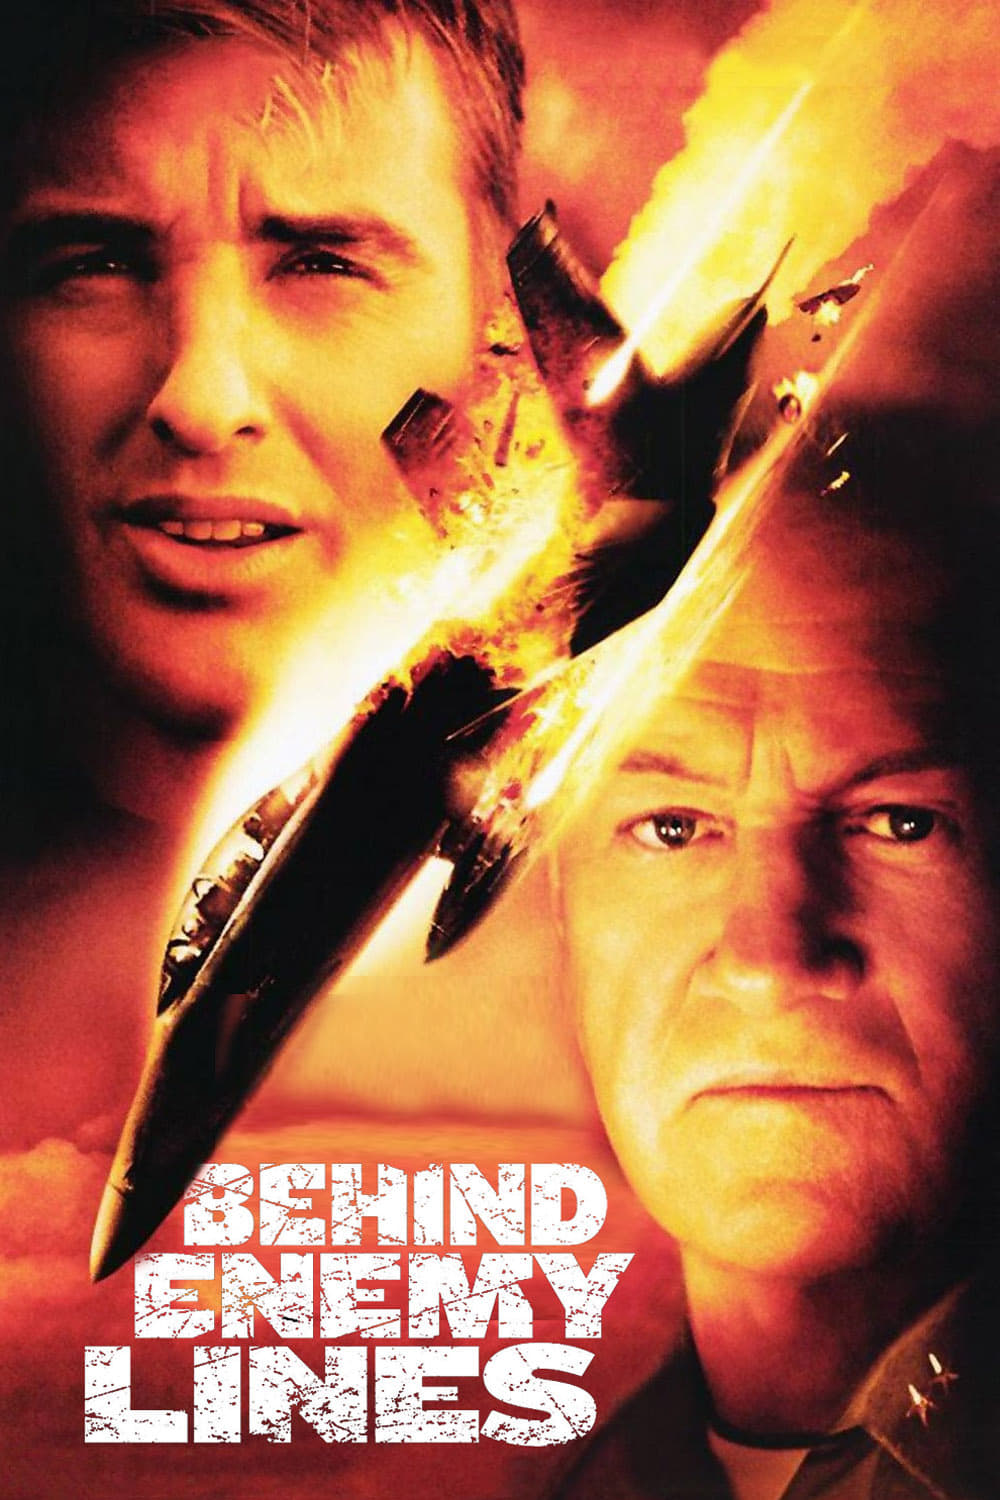
Burnett and Stackhouse are sent on reconnaissance and divert to investigate unusual activity. Their photographs reveal Serb forces burying massacred civilians, prompting Lokar to order their aircraft destroyed.
Key Events
-
Burnett Clashes with Reigart — Burnett, frustrated with battle readiness, clashes with his commanding officer. Characters: Lt. Chris 'Longhorn' Burnett, Admiral Leslie Reigart, Commander Adriatic Battle Group
Location: Aircraft carrier in the Adriatic Sea
-
Christmas Reconnaissance Assignment — Reigart assigns Burnett and Stackhouse a reconnaissance mission. Characters: Lt. Chris 'Longhorn' Burnett, Lt. Jeremy 'Smoke' Stackhouse, Admiral Leslie Reigart, Commander Adriatic Battle Group
Location: Aircraft carrier in the Adriatic Sea
-
Unusual Activity Spotted — The pilots spot unusual activity and Burnett persuades Stackhouse to investigate. Characters: Lt. Chris 'Longhorn' Burnett, Lt. Jeremy 'Smoke' Stackhouse
Location: Demilitarized zone
-
Mass Graves Photographed — The pilots photograph Serb forces burying massacred Bosniak civilians. Characters: Lt. Chris 'Longhorn' Burnett, Lt. Jeremy 'Smoke' Stackhouse, General Miroslav Lokar
Location: Demilitarized zone
-
Lokar Orders the Jet Shot Down — Lokar orders the aircraft destroyed after the pilots witness the killings. Characters: General Miroslav Lokar, Lt. Chris 'Longhorn' Burnett, Lt. Jeremy 'Smoke' Stackhouse
Location: Bosnian airspace
A Pilot Alone Behind Enemy Lines
The pilots eject, Stackhouse is executed, and Burnett escapes into the wilderness. Reigart tries to arrange extraction, but Piquet's concern for the peace process restricts the rescue.
Key Events
-
Pilots Eject from the Jet — Missile damage forces Burnett and Stackhouse to eject. Characters: Lt. Chris 'Longhorn' Burnett, Lt. Jeremy 'Smoke' Stackhouse
Location: Bosnian wilderness
-
Stackhouse Is Executed — Lokar's men find Stackhouse injured and he is executed. Characters: Lt. Jeremy 'Smoke' Stackhouse, General Miroslav Lokar
Location: Crash area
-
Burnett Flees the Crash Area — Burnett gives away his position while watching Stackhouse's capture and escapes. Characters: Lt. Chris 'Longhorn' Burnett, General Miroslav Lokar
Location: Wilderness near the crash site
-
Rescue Restricted by Piquet — Piquet warns Reigart against a rescue that could endanger the peace process. Characters: Lt. Chris 'Longhorn' Burnett, Admiral Leslie Reigart, Commander Adriatic Battle Group, Admiral Juan-Miguel Piquet, Commander of NATO Naval Command
Location: NATO naval command
-
Extraction Point Is Moved — Burnett reaches the designated point but is told to continue farther for rescue. Characters: Lt. Chris 'Longhorn' Burnett, Admiral Leslie Reigart, Commander Adriatic Battle Group
Location: Initial extraction point
False Death and Lost Contact
Burnett evades patrols, hides in a mass grave, and struggles toward a new extraction point. Lokar's deception convinces NATO that Burnett is dead, causing the rescue mission to be aborted.
Key Events
-
Burnett Hides in a Mass Grave — Burnett hides under corpses as Bazda's patrol searches the area. Characters: Lt. Chris 'Longhorn' Burnett, Bazda
Location: Mass grave
-
Reigart Leaks the Downing — Reigart leaks the aircraft's loss to Sky News to support Burnett's rescue. Characters: Admiral Leslie Reigart, Commander Adriatic Battle Group, Admiral Juan-Miguel Piquet, Commander of NATO Naval Command, Aernout Van Lynden, Sky News Reporter
Location: NATO naval command
-
Lokar Seeks the Optical Disc — Lokar realizes incriminating photographs may remain in the wreckage. Characters: General Miroslav Lokar
Location: Crash area
-
Burnett Crosses a Minefield — Burnett escapes Serb soldiers by crossing a minefield. Characters: Lt. Chris 'Longhorn' Burnett
Location: Minefield
-
Burnett Reaches Hač — Bosniak guerrillas give Burnett a ride to the town contested by Lokar's forces. Characters: Lt. Chris 'Longhorn' Burnett, General Miroslav Lokar
Location: Hač
-
Burnett's Radio Is Destroyed — Fighting destroys Burnett's radio, cutting off his communication. Characters: Lt. Chris 'Longhorn' Burnett, General Miroslav Lokar
Location: Hač
-
Lokar Fakes Burnett's Death — Lokar presents a disguised corpse as Burnett, prompting the rescue mission's cancellation. Characters: Lt. Chris 'Longhorn' Burnett, General Miroslav Lokar, Admiral Juan-Miguel Piquet, Commander of NATO Naval Command
Location: Hač
The Beacon and the Defiant Rescue
Burnett returns to the ejection seat and activates its rescue beacon, exposing his position to both his carrier group and the Serb forces. Reigart defies orders, and Burnett fights to survive until the task force arrives.
Key Events
-
Beacon Reveals Burnett Is Alive — Burnett finds the ejection seat and activates its beacon, alerting both his carrier group and Serb forces. Characters: Lt. Chris 'Longhorn' Burnett, Admiral Leslie Reigart, Commander Adriatic Battle Group, General Miroslav Lokar
Location: Near the ejection seat
-
Reigart Defies the Stand-Down Order — Reigart prepares a Marine rescue task force despite Piquet's orders. Characters: Admiral Leslie Reigart, Commander Adriatic Battle Group, Admiral Juan-Miguel Piquet, Commander of NATO Naval Command, Lt. Chris 'Longhorn' Burnett
Location: Aircraft carrier in the Adriatic Sea
-
Bazda Falls to a Landmine — Bazda steps on a landmine while pursuing Burnett; the explosion alerts Burnett. Characters: Bazda, Lt. Chris 'Longhorn' Burnett
Location: Near Burnett's position
-
Burnett Kills His Pursuer — Burnett is wounded but kills the pursuer who finds the ejection seat. Characters: Lt. Chris 'Longhorn' Burnett
Location: Near the ejection seat
-
Rescue Force Holds Off Lokar — Lokar arrives with armored vehicles and infantry as Reigart's task force holds them off. Characters: Lt. Chris 'Longhorn' Burnett, General Miroslav Lokar, Admiral Leslie Reigart, Commander Adriatic Battle Group
Location: Burnett's extraction area
-
Burnett Is Rescued — Burnett is rescued with the optical disc, while Lokar fails to prevent the evidence from reaching safety. Characters: Lt. Chris 'Longhorn' Burnett, Admiral Leslie Reigart, Commander Adriatic Battle Group, General Miroslav Lokar
Location: Extraction area
Evidence and Consequences
Burnett is rescued with the optical disc as Reigart's force holds off Lokar's troops. The photographs expose Lokar's crimes, leading to his conviction, while Reigart retires and Burnett remains in the Navy.
Key Events
-
Burnett Is Rescued — Burnett is rescued with the optical disc, while Lokar fails to prevent the evidence from reaching safety. Characters: Lt. Chris 'Longhorn' Burnett, Admiral Leslie Reigart, Commander Adriatic Battle Group, General Miroslav Lokar
Location: Extraction area
-
War Crimes Are Exposed — The photographs lead to Lokar's conviction; Reigart retires and Burnett continues in the Navy. Characters: Lt. Chris 'Longhorn' Burnett, General Miroslav Lokar, Admiral Leslie Reigart, Commander Adriatic Battle Group
Location: After the rescue