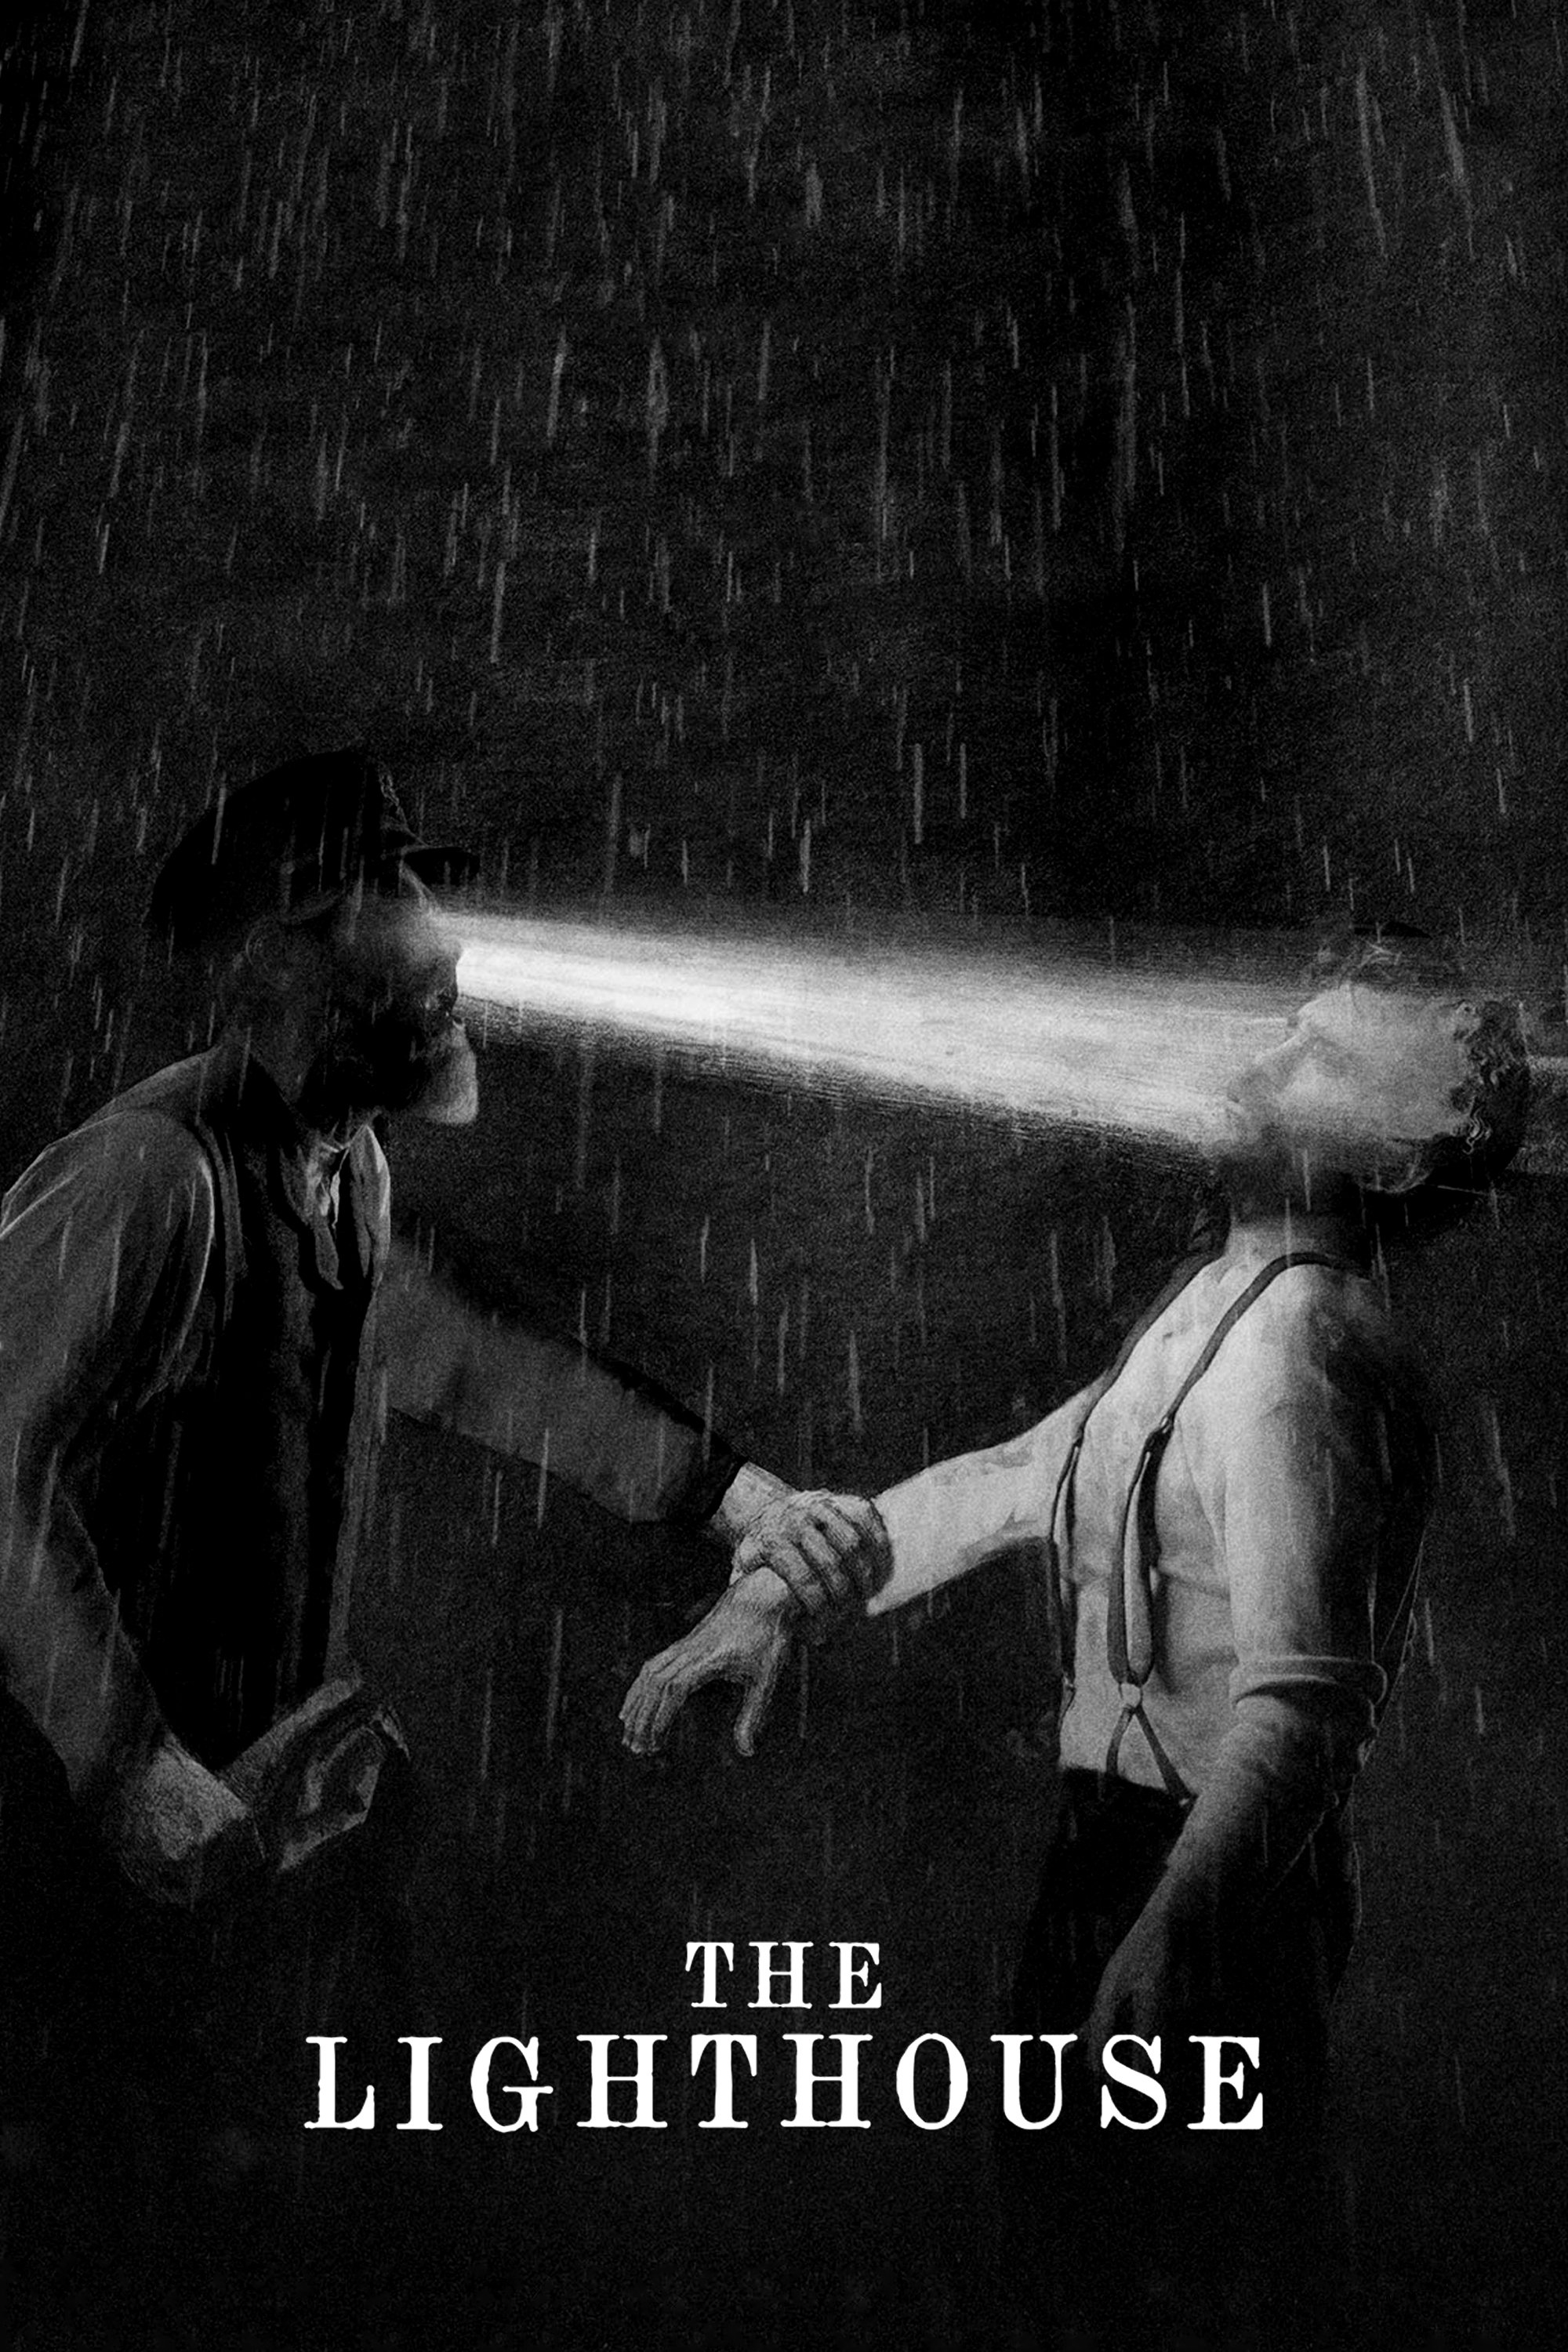
Plot Analysis Summary
An isolated keeper's descent into guilt, domination, hallucination, and fatal obsession with the forbidden light.
Story Structure — 5 Plot Phases
A Keeper Under Watch
Thomas Howard arrives for a temporary lighthouse assignment under the demanding supervision of Thomas Wake. Wake controls the labor and the lantern room while Howard encounters the mermaid scrimshaw and begins experiencing disturbing visions.
Key Events
-
Howard Arrives on the Island — Howard begins a four-week lighthouse-keeping stint under Wake's supervision. Characters: Thomas Howard, Thomas Wake
Location: Isolated New England lighthouse island
-
The Scrimshaw Mermaid — Howard discovers a small mermaid scrimshaw and keeps it in his jacket. Characters: Thomas Howard, Mermaid
Location: Howard's quarters
-
Wake Assigns Brutal Chores — Wake subjects Howard to exhausting maintenance work and bars him from the lantern room. Characters: Thomas Howard, Thomas Wake
Location: Lighthouse and keeper's quarters
-
Wake's Lantern Ritual — Howard observes Wake disrobe before the light after ascending the lighthouse. Characters: Thomas Wake, Thomas Howard
Location: Lighthouse lantern room
-
Howard's Sea Visions — Howard hallucinates sea monsters and floating logs, then masturbates to the scrimshaw. Characters: Thomas Howard, Mermaid
Location: Island shoreline and quarters
Storm over the Island
A dead gull contaminates the cistern, and Howard kills the one-eyed gull despite Wake's superstition. The wind changes, the storm prevents their departure, and the men discover that their isolation has lasted far longer than Howard believed.
Key Events
-
The Dead Wickie Warning — Wake says a previous wickie lost his sanity; Howard describes his timber work in Maine and Canada. Characters: Thomas Howard, Thomas Wake
Location: Keeper's dining room
-
The Bloody Cistern — Howard finds a dead gull in the cistern, contaminating their drinking water. Characters: Thomas Howard, Thomas Wake
Location: Lighthouse cistern
-
Howard Kills the Gull — After the one-eyed gull attacks him, Howard brutally bludgeons it to death despite Wake's warning. Characters: Thomas Howard, Thomas Wake
Location: Lighthouse island
-
The Storm Changes Course — The wind shifts drastically and a fierce storm strikes before their scheduled departure. Characters: Thomas Howard, Thomas Wake
Location: Lighthouse island
-
The Tender Fails to Arrive — The storm prevents the lighthouse tender from collecting them the next day. Characters: Thomas Howard, Thomas Wake
Location: Lighthouse island
Drunken Captivity
The supposed ration crate contains alcohol, leading Howard and Wake into nightly drunkenness and unstable intimacy. Howard becomes increasingly obsessed with the forbidden lantern room and considers murdering Wake.
Key Events
-
The Mermaid on the Shore — Howard discovers a beached mermaid body that waves and howls before fleeing to the cottage. Characters: Thomas Howard, Mermaid, Thomas Wake
Location: Beach beside the keeper's quarters
-
Weeks Already Lost — Wake tells Howard that they have already been stranded for weeks, not merely one day. Characters: Thomas Howard, Thomas Wake
Location: Keeper's quarters
-
The Ration Crate Contains Alcohol — The men unearth a crate that Howard expects to contain food, but it holds alcohol instead. Characters: Thomas Howard, Thomas Wake
Location: Lighthouse base
-
Drunken Intimacy and Hostility — Howard and Wake drink nightly, alternating between moments of intimacy and hostility. Characters: Thomas Howard, Thomas Wake
Location: Keeper's quarters
-
The Lantern Keys — Howard unsuccessfully tries to steal the lantern keys and considers murdering Wake. Characters: Thomas Howard, Thomas Wake
Location: Keeper's quarters
The Confession and Ruin
Howard confesses that he is really Thomas Howard and that he allowed the real Ephraim Winslow to drown. Wake destroys the escape dory, the cottage is damaged by a wave, and Wake's logbook turns their hostility into open violence.
Key Events
-
Howard Confesses His Identity — Howard admits his real name and confesses that he let the real Ephraim Winslow drown. Characters: Thomas Howard, Thomas Wake, Ephraim Winslow
Location: Keeper's quarters
-
Wake Destroys the Dory — Howard tries to escape by dory, but Wake appears and destroys the boat with an axe. Characters: Thomas Howard, Thomas Wake
Location: Island shore
-
Turpentine and Honey — With their alcohol gone, Howard and Wake drink a concoction of turpentine and honey. Characters: Thomas Howard, Thomas Wake
Location: Keeper's quarters
-
The Wave Breaks the Cottage — A giant wave crashes through the wall of their cottage during the storm. Characters: Thomas Howard, Thomas Wake
Location: Keeper's quarters
-
Wake's Damning Logbook — Howard reads Wake's recommendation that he be fired without pay for drunken incompetence. Characters: Thomas Howard, Thomas Wake
Location: Keeper's quarters
Light and Punishment
Howard attacks and apparently buries Wake, but Wake returns and strikes him with an axe. Howard kills Wake, enters the lantern room, falls after confronting the lens, and ends barely alive on the rocks.
Key Events
-
Howard Buries Wake — During hallucinations of the Mermaid, Winslow, and Proteus-like Wake, Howard beats Wake and buries him alive. Characters: Thomas Howard, Thomas Wake, Mermaid, Ephraim Winslow
Location: Hole at the lighthouse base
-
Wake Strikes with the Axe — Wake returns, strikes Howard with the axe, and attempts to reclaim control. Characters: Thomas Howard, Thomas Wake
Location: Lighthouse base
-
Howard Kills Wake — Howard disarms and kills Wake before taking the lantern-room keys. Characters: Thomas Howard, Thomas Wake
Location: Lighthouse base
-
The Fresnel Lens Opens — Howard reaches into the opened Fresnel lens, screams in distortion, and falls down the steps. Characters: Thomas Howard
Location: Lighthouse lantern room
-
Howard on the Rocks — Howard lies barely alive and nude on the rocks as gulls peck at his exposed organs. Characters: Thomas Howard
Location: Rocks by the sea