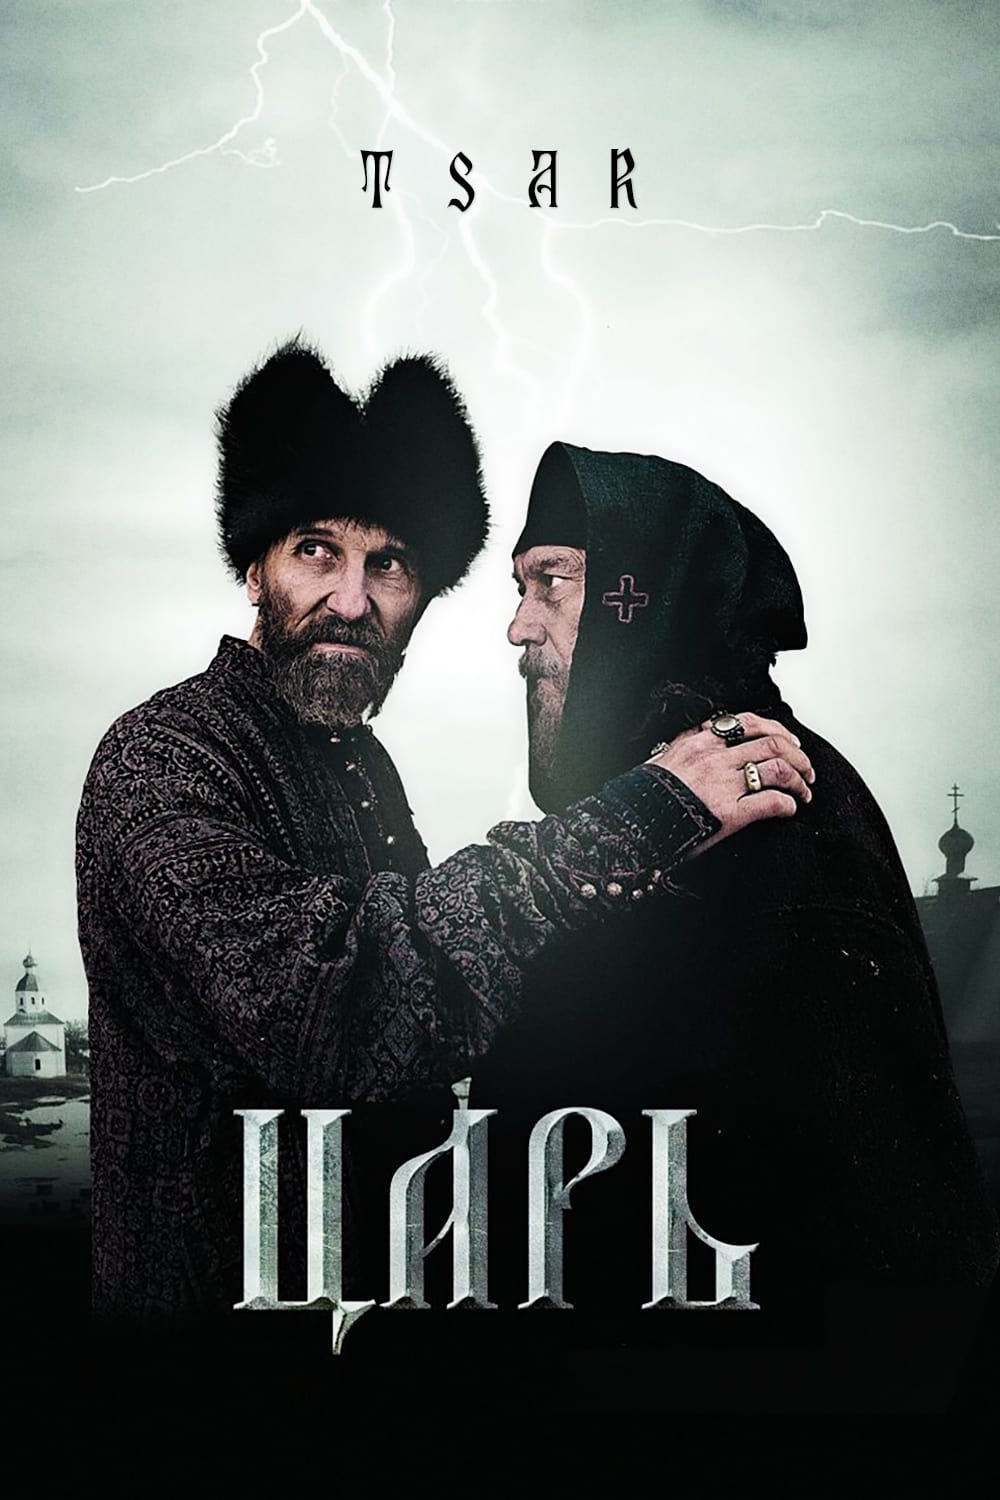
Story Structure — 5 Plot Phases
A Summons from Moscow
After the Metropolitan dies, the Tsar summons a Hegumen from Solovetsky Monastery. The Hegumen rescues a fleeing girl and is asked to assume Moscow's highest religious office.
Key Events
-
The Metropolitan Dies — The Orthodox Metropolitan dies, creating a vacancy in Moscow's religious leadership.
Location: Moscow
-
The Tsar Prays — The Tsar prays and asks divine help with his affairs.
Location: The Tsar's Cell
-
The Hegumen Travels — The Hegumen travels from Solovetsky Monastery toward Moscow.
Location: The Road to Moscow
-
A Girl Is Rescued — The Hegumen rescues a girl fleeing from a group of guardsmen.
Location: The Road to Moscow
-
The Metropolitan Offer — The Tsar asks the Hegumen to become Metropolitan of Moscow.
Location: Moscow
-
A Warning Before War — The Hegumen meets his nephew, who urges him to flee from the Tsar.
Location: Moscow
Mercy Against Violence
The Hegumen accepts the office and witnesses abuses committed by the Tsar's guardsmen. He begins urging the Tsar to temper power with mercy.
Key Events
-
The Sacred Icon — The Tsar gives the rescued girl an icon of the Mother of God.
Location: Moscow
-
The Hegumen Accepts — The Hegumen is persuaded to accept the office of Metropolitan.
Location: Moscow
-
Mercy Is Demanded — The new Metropolitan witnesses violence and urges the Tsar to show mercy.
Location: Moscow
-
Battle at Polotsk — The Metropolitan's nephew fights in a bloody battle against Polish and Lithuanian forces.
Location: Polotsk
War and Treason
A battle takes place at Polotsk, while an icon is associated with the collapse of a bridge under enemy cavalry. The city's surrender provokes the Tsar's fury and the punishment of the governor.
Key Events
-
The Bridge Collapses — The icon is present when a bridge collapses beneath Lithuanian cavalry.
Location: Polotsk
-
Polotsk Surrenders — News reveals that enemy forces reached the rear and the governor surrendered the city.
Location: Moscow
-
The Governor Is Branded — The governor is arrested and his chest is branded.
Location: Moscow
-
The Trial Is Ordered — The Tsar orders the Metropolitan to judge the governor's men for treason.
Location: Moscow
The Bear and the Cross
The Metropolitan discovers that treason confessions were produced by torture and refuses to authorize executions. The Tsar stages a bear execution, leading to the girl's death and the Metropolitan's open refusal to bless him.
Key Events
-
Confessions Were Tortured — The Metropolitan realizes that the defendants confessed under torture.
Location: The Court
-
The Death Warrant Refused — The Metropolitan refuses to sign the death warrant.
Location: The Court
-
The Bear Execution — The Tsar prepares an execution in which prisoners must fight a bear.
Location: The Execution Arena
-
The Girl Enters Arena — The girl enters the arena with the icon and is killed by the bear.
Location: The Execution Arena
-
The Blessing Is Denied — During a service, the Metropolitan refuses to bless the Tsar.
Location: A Church
Ashes and Silence
The Metropolitan is stripped of rank, imprisoned, and later killed after receiving visions and warning others of their danger. The monastery burns, and the Tsar ends alone when nobody gathers for his torture festival.
Key Events
-
The Nephew Is Executed — The Tsar forces the Metropolitan to watch his nephew die on the rack.
Location: The Execution Site
-
The Metropolitan Is Exiled — The Metropolitan loses his rank and is exiled as an ordinary prisoner.
Location: A Monastery
-
The Torture Camp — A torture camp is built for public festivals and the suffering of prisoners.
Location: The Torture Camp
-
The Jester Is Burned — The jester quotes Revelation, compares the Tsar's wife to Babylon, and is burned.
Location: The Torture Camp
-
A Prison Miracle — The Metropolitan's chains loosen supernaturally, and he receives healing and foresight.
Location: The Monastery
-
The Final Accusation — The Metropolitan condemns the Tsar's violence and again refuses his blessing.
Location: The Monastery
-
The Monastery Burns — The Metropolitan is strangled, and guards burn the church with the monks inside.
Location: A Wooden Church
-
No People Gather — The Tsar waits for the tortures, but no one arrives after his order to assemble.
Location: The Torture Camp