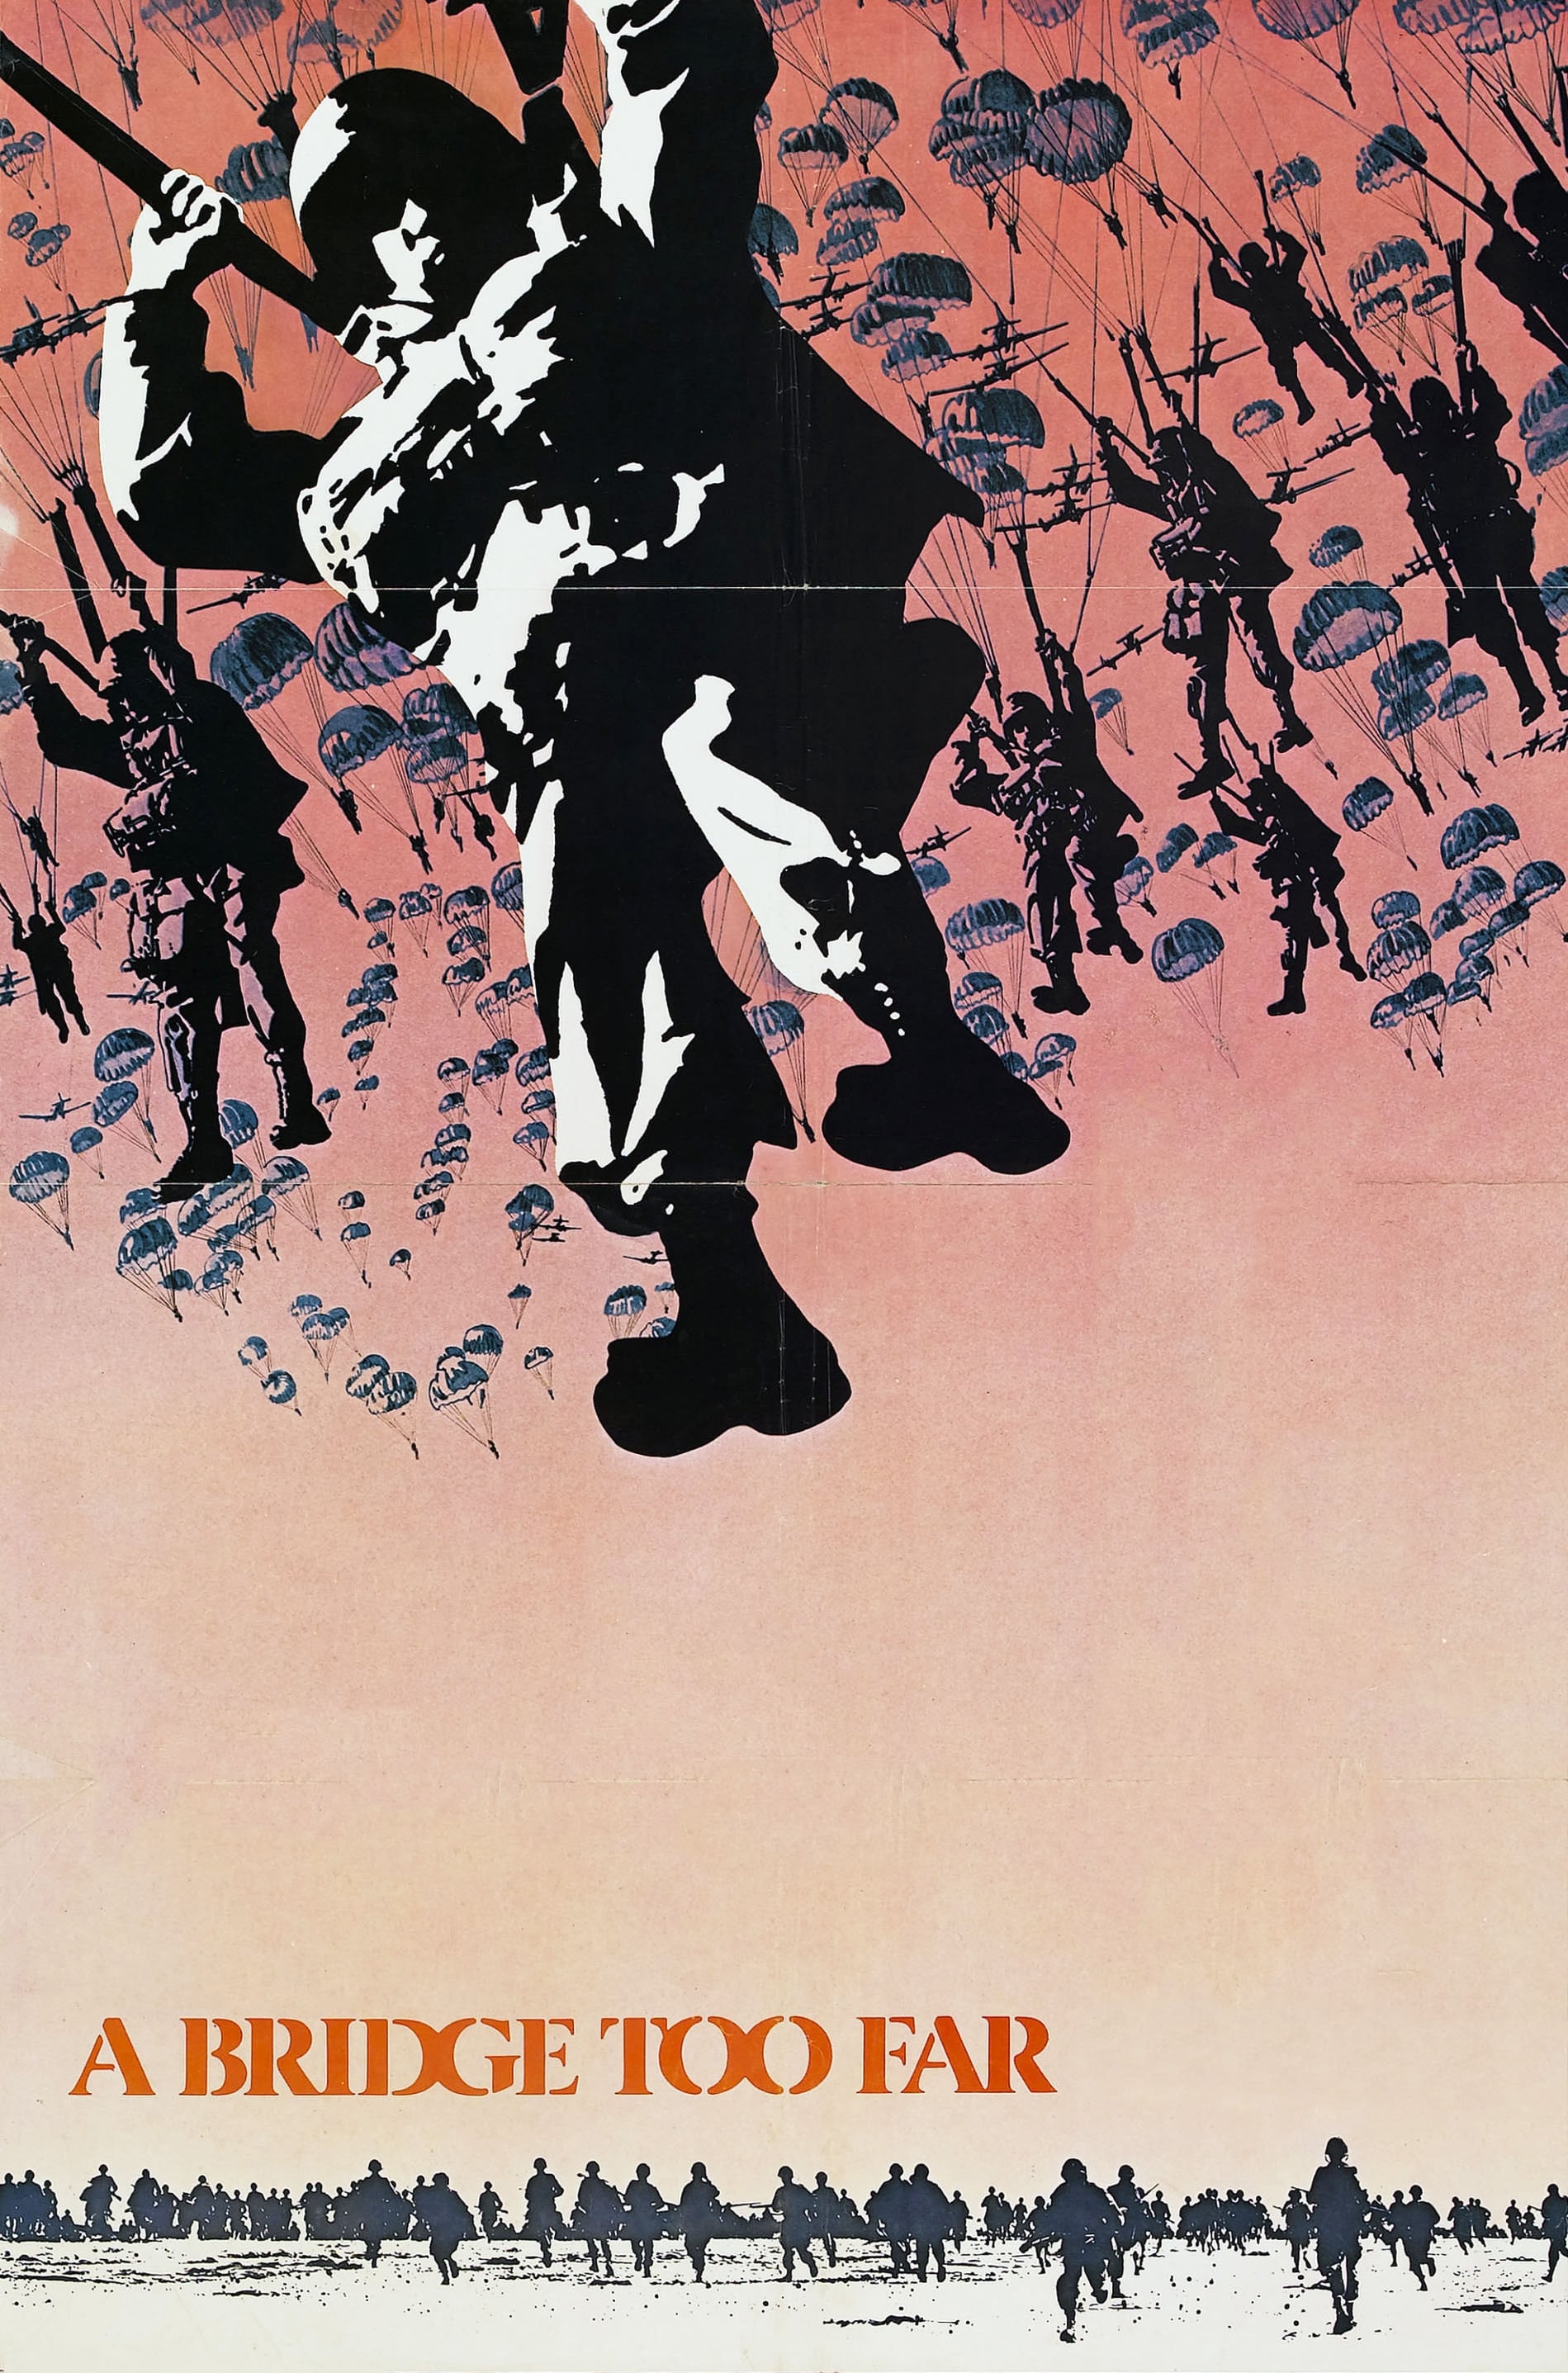
Plot Analysis Summary
An ambitious Allied airborne operation collapses under flawed intelligence, logistical delays, German resistance, and the human cost of retreat.
Story Structure — 5 Plot Phases
The Gamble Behind Enemy Lines
Browning develops Operation Market Garden after the Allied victory in Normandy. The plan assigns airborne forces to seize a corridor and cross the Rhine at Arnhem.
Key Events
-
Allied Victory in Normandy — The Allies win the Battle of Normandy, creating the context for a new offensive.
Location: Normandy
-
Market Garden Is Drafted — Browning drafts Operation Market Garden to seize a corridor and cross the Rhine at Arnhem. Characters: Lt. Gen. Frederick Browning
Location: Allied headquarters
-
The Arnhem Objective — The plan assigns Urquhart's British division and Sosabowski's Polish brigade to the Arnhem objective. Characters: Lt. Gen. Frederick Browning, Maj. Gen. Robert E. Urquhart, Maj. Gen. Stanislaw F. Sosabowski
Location: Allied briefing room
-
Warnings of German Tanks — Reconnaissance photographs and Dutch underground reports warn of German tanks near Arnhem. Characters: Lt. Gen. Frederick Browning, Maj. Gen. Robert E. Urquhart, Underground Leader
Location: Allied headquarters
Warnings Before the Drop
Urquhart's officers question the distance between their landing zones and their objectives. Reconnaissance and underground reports reveal German tanks, but Browning dismisses the warnings.
Key Events
-
Warnings of German Tanks — Reconnaissance photographs and Dutch underground reports warn of German tanks near Arnhem. Characters: Lt. Gen. Frederick Browning, Maj. Gen. Robert E. Urquhart, Underground Leader
Location: Allied headquarters
-
Warnings Are Dismissed — Browning dismisses the reports and expects only inexperienced German resistance. Characters: Lt. Gen. Frederick Browning, Underground Leader
Location: Allied headquarters
-
Airborne Landings Begin — The airborne drops surprise the enemy and initially meet little resistance. Characters: Maj. Gen. Robert E. Urquhart, Maj. Gen. Stanislaw F. Sosabowski
Location: Landing zones in the Netherlands
-
Son Bridge Demolished — German forces demolish the Son bridge just before Allied troops can secure it.
Location: Son
The Corridor Breaks
The landings initially succeed, but the Son bridge is demolished and Arnhem communications fail. Delays, ambushes, and the need for a Bailey bridge slow the ground advance.
Key Events
-
Son Bridge Demolished — German forces demolish the Son bridge just before Allied troops can secure it.
Location: Son
-
Arnhem Radios Fail — The British division's radios fail, cutting Urquhart off from Browning's headquarters. Characters: Maj. Gen. Robert E. Urquhart, Lt. Gen. Frederick Browning
Location: Arnhem
-
Jeeps Are Ambushed — The heavily armed jeeps fail to arrive or are destroyed in a German ambush. Characters: Maj. Gen. Robert E. Urquhart
Location: Roads near Arnhem
-
The Corridor Slows — XXX Armoured Corps is slowed by German resistance, the exposed road, and repeated obstacles.
Location: The Eindhoven-Arnhem corridor
-
Bailey Bridge Construction — Allied forces construct a Bailey bridge to replace the demolished crossing at Son.
Location: Son
-
Daylight River Crossing — American airborne soldiers cross the river in daylight using rubber boats to capture the Nijmegen bridge.
Location: Nijmegen
Arnhem Under Siege
The Nijmegen crossing is achieved, yet the ground forces remain delayed. German infantry and panzers close around Arnhem while Sosabowski's delayed reinforcements arrive too late.
Key Events
-
Nijmegen Remains Unsecured — XXX Corps remains delayed while infantry secure the city after the bridge is captured.
Location: Nijmegen
-
Polish Reinforcements Arrive Late — Sosabowski's troops finally arrive after delays in England, but they are too late to reinforce the British. Characters: Maj. Gen. Stanislaw F. Sosabowski, Maj. Gen. Robert E. Urquhart
Location: Arnhem
-
German Forces Close In — German infantry and armored forces surround the isolated British paratroopers near Arnhem bridge. Characters: Maj. Gen. Robert E. Urquhart, German Sentry
Location: Arnhem near the bridge
-
The Oosterbeek Withdrawal — After intense fighting, the outgunned British are captured or forced back toward Oosterbeek. Characters: Maj. Gen. Robert E. Urquhart, Maj. Gen. Stanislaw F. Sosabowski
Location: Arnhem and Oosterbeek
A Costly Retreat
Urquhart receives the retreat order and escapes with only a fraction of his force. Kate leaves the ruined hospital as wounded soldiers await capture and sing.
Key Events
-
The Oosterbeek Withdrawal — After intense fighting, the outgunned British are captured or forced back toward Oosterbeek. Characters: Maj. Gen. Robert E. Urquhart, Maj. Gen. Stanislaw F. Sosabowski
Location: Arnhem and Oosterbeek
-
Kate's Makeshift Hospital — Kate's home has been converted into a makeshift hospital for wounded British troops. Characters: Kate ter Horst
Location: Kate ter Horst's home in Oosterbeek
-
Retreat Order Issued — Urquhart receives orders to retreat as Allied commanders assign blame for the failed support effort. Characters: Maj. Gen. Robert E. Urquhart, Lt. Gen. Frederick Browning
Location: Oosterbeek and British headquarters
-
Covering the Withdrawal — Urquhart escapes with fewer than one-fifth of his original troops while badly wounded soldiers remain behind. Characters: Maj. Gen. Robert E. Urquhart
Location: Oosterbeek
-
Urquhart Confronts Browning — Urquhart confronts Browning, who contradicts his earlier optimism about the operation. Characters: Maj. Gen. Robert E. Urquhart, Lt. Gen. Frederick Browning
Location: British headquarters
-
Kate Abandons the Ruins — Kate leaves her ruined home with her children and an elderly doctor, passing fallen soldiers' graves. Characters: Kate ter Horst
Location: Oosterbeek
-
Abide with Me — Wounded British troops sing Abide with Me while awaiting capture. Characters: Kate ter Horst
Location: Oosterbeek