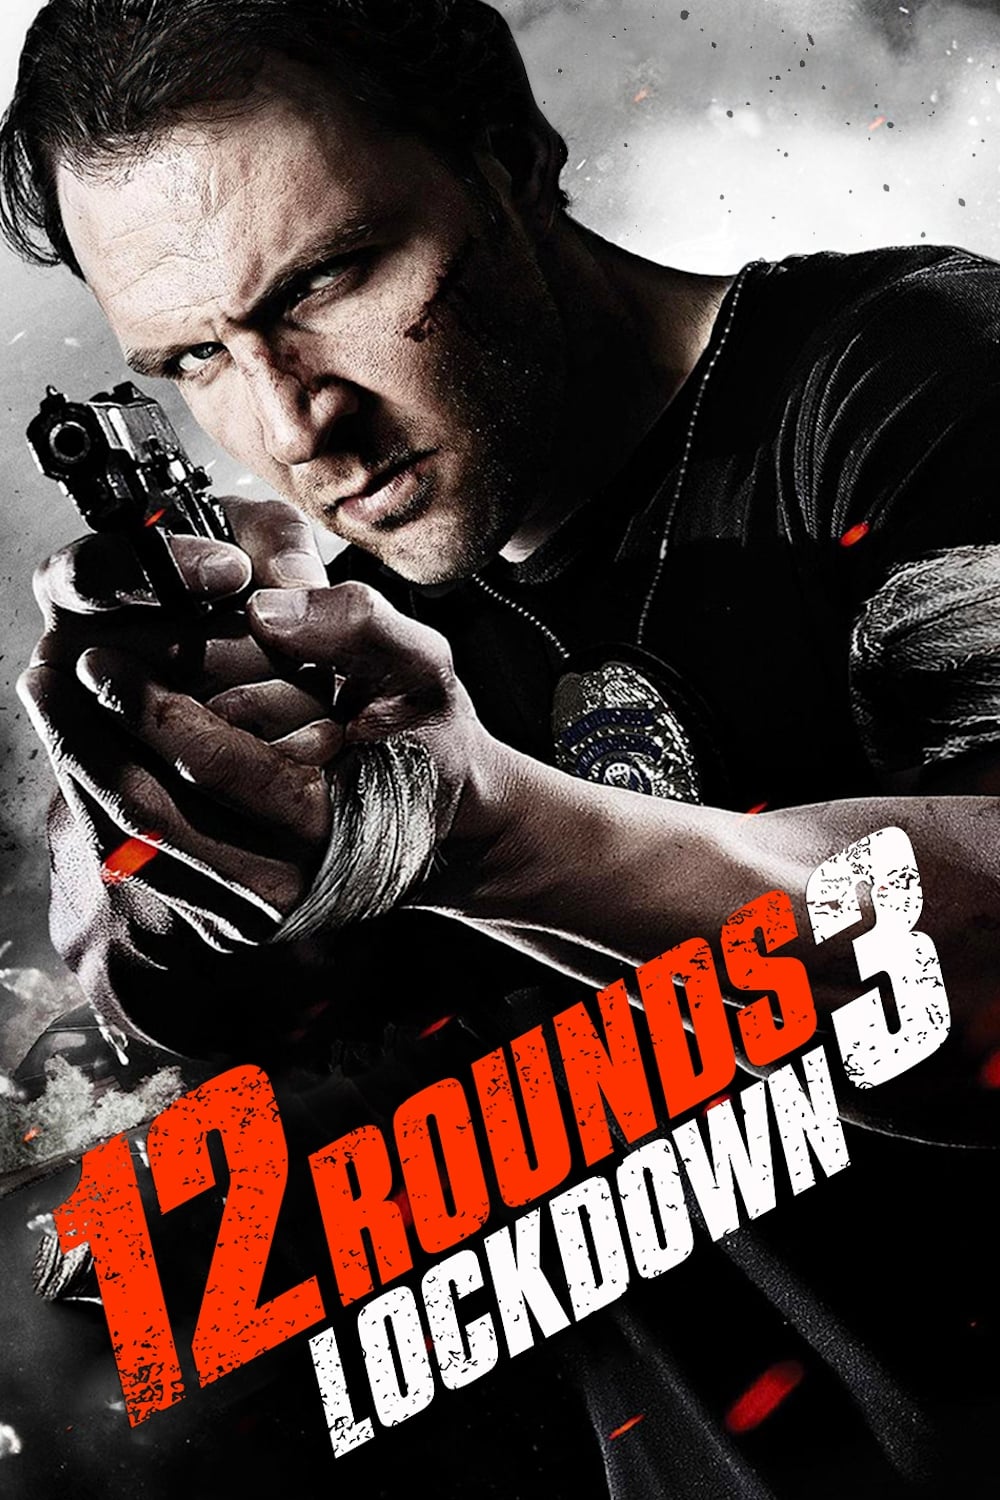
Story Structure — 5 Plot Phases
A Buried Crime Resurfaces
Burke, Gideon, and Saul destroy evidence after a killing. Shaw returns to duty and discovers that a backup of the evidence has survived on a flash drive.
Key Events
-
Evidence Is Destroyed — Burke, Gideon, and Saul kill a drug dealer and destroy evidence of Burke's narcotics distribution. Characters: Tyler Burke, Gideon, Saul
Location: Crime scene
-
Shaw Returns To Duty — Shaw returns to active duty after his partner's death and a period of PTSD. Characters: John Shaw, Tyler Burke, Officer Jenny Taylor
Location: Police precinct
-
The Backup Is Found — A backup of the incriminating evidence is found during an autopsy and delivered to evidence. Characters: Officer Jenny Taylor
Location: Autopsy facility
-
Shaw Retrieves The Drive — Shaw reads the incident report and retrieves the flash drive from evidence. Characters: John Shaw
Location: Evidence room
The Precinct Becomes A Trap
Burke learns about the flash drive and locks down the precinct. Communications fail, and Shaw is forced to survive a coordinated hunt with limited ammunition.
Key Events
-
Burke Learns The Truth — Burke learns that the flash drive survived and heads to the precinct. Characters: Tyler Burke
Location: Police precinct
-
The Precinct Locks Down — Burke triggers the fire alarm, isolates the building, and disables communications. Characters: Tyler Burke, John Shaw, Gideon, Saul
Location: Police precinct
-
Meeks Is Ambushed — Shaw ambushes Meeks, but Burke kills Meeks when Shaw uses him as a human shield. Characters: John Shaw, Tyler Burke, Meeks
Location: Police precinct
-
Shaw Counts His Rounds — Shaw continues evading ambushes while having only twelve rounds left. Characters: John Shaw
Location: Police precinct
-
Taylor Rejects Shaw — Taylor sees blood on Shaw and refuses to trust him, so Shaw warns her to hide. Characters: John Shaw, Officer Jenny Taylor
Location: Police precinct
Leverage And Betrayal
Burke frames Shaw and uses Taylor to force him into the open. Taylor is killed, leaving Shaw isolated and determined to transmit the evidence.
Key Events
-
Burke Frames Shaw — Burke frames Shaw for Meeks's death and claims he will handle the situation. Characters: Tyler Burke, John Shaw
Location: Police precinct
-
Taylor Becomes Leverage — Burke threatens Taylor to force Shaw to reveal himself, then kills Taylor despite Shaw's compliance. Characters: Tyler Burke, John Shaw, Officer Jenny Taylor
Location: Police precinct
-
The CCTV Is Disabled — After a gunfight, Shaw disconnects wires to disable the CCTV cameras. Characters: John Shaw, Tyler Burke
Location: Police precinct
-
Shaw Starts The Upload — Shaw restores the network and begins uploading evidence about Burke to Internal Affairs. Characters: John Shaw
Location: Police precinct
-
Darrow Cuts The Network — Darrow notices the upload and deactivates the network before it can finish. Characters: Darrow, John Shaw
Location: Police precinct
The Evidence Goes Dark
Shaw attempts to upload proof of Burke's corruption, but Darrow cuts the network. Shaw is captured, the flash drive is destroyed, and a power failure creates his escape.
Key Events
-
Darrow Cuts The Network — Darrow notices the upload and deactivates the network before it can finish. Characters: Darrow, John Shaw
Location: Police precinct
-
Shaw Calls For Help — Shaw calls for help from the rooftop and declares his innocence while exposing Burke's corruption. Characters: John Shaw
Location: Rooftop
-
The Drive Is Destroyed — Burke and Darrow capture Shaw, retrieve the flash drive, and Burke destroys it. Characters: John Shaw, Tyler Burke, Darrow
Location: Meeting room
-
The Power Fails — The power is cut just before Burke shoots Shaw, allowing Shaw to kill Darrow and escape. Characters: John Shaw, Darrow, Tyler Burke
Location: Meeting room
The Last Round
Shaw survives the final betrayal and uses a recording to expose Burke. He spends his last round to stop Burke, then arrests him.
Key Events
-
Shaw Escapes The SWAT Team — After a brief encounter with the SWAT team, Shaw arranges a meeting at the back of the building. Characters: John Shaw
Location: Police precinct
-
The Final Betrayal — Burke shoots the person Shaw expected to help him before the SWAT team enters. Characters: John Shaw, Tyler Burke
Location: Back of the building
-
Burke Is Exposed — Shaw plays Burke's incriminating recording while Burke attempts to shoot him. Characters: John Shaw, Tyler Burke
Location: Police precinct
-
Burke Is Arrested — Shaw fires his last round into Burke's leg, cuffs him, and walks out of the building. Characters: John Shaw, Tyler Burke
Location: Police precinct