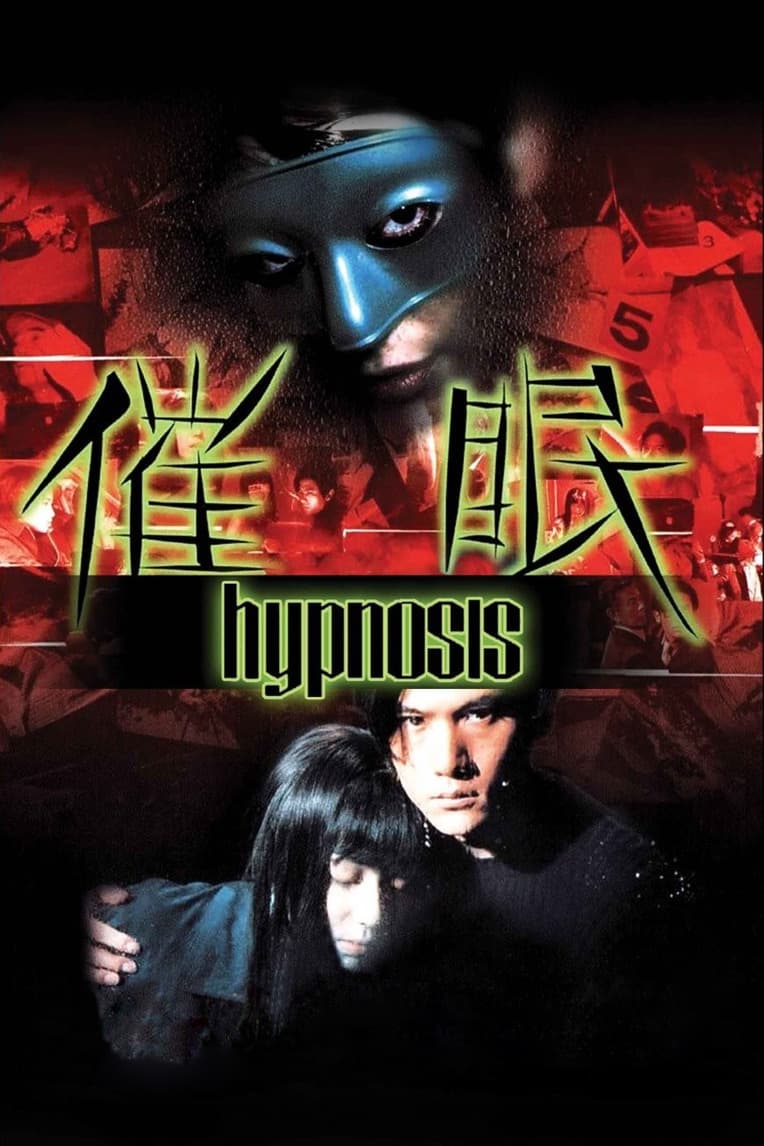
Plot Analysis Summary
A series of strange deaths leads investigators to examine whether hypnotic suggestions, Yuka's past, and concealed identities are connected.
Story Structure — 4 Plot Phases
Deaths and the Green Monkey
A series of bizarre deaths raises questions about hypnosis. A frightened woman and Yuka repeat the same strange phrase about a green monkey.
Key Events
-
Hypnosis Demonstration — A hypnotist demonstrates suggestion's effects on movement, senses, and memory. Characters: Toshiya Saga
Location: Unspecified demonstration setting
-
A Birthday Leap — An elderly man jumps to his death while celebrating his wife's birthday.
Location: Unspecified birthday setting
-
Wedding Strangling — A groom strangles himself during his wedding.
Location: Wedding
-
The Green Monkey Cry — A terrified woman repeats that she must save someone and calls out about a green monkey.
Location: Race
-
Yuka on Live Television — Yuka speaks of the same green monkey during a live television appearance. Characters: Yuka Irie
Location: Television program
The Hypnotist Under Scrutiny
Sakurai considers post-hypnotic suggestion and confronts Jissoji over his sessions with Yuka. Saga appears to be affected by Jissoji's commands.
Key Events
-
Yuka on Live Television — Yuka speaks of the same green monkey during a live television appearance. Characters: Yuka Irie
Location: Television program
-
Suggestion Suspected — Sakurai suspects post-hypnotic suggestion may connect the incidents; Saga's hypnosis work enters the inquiry. Characters: Sakurai, Toshiya Saga
Location: Unspecified investigation setting
-
Sakurai Confronts Jissoji — Sakurai challenges Jissoji over his hypnosis of Yuka and his claims about aliens. Characters: Sakurai, Jissoji, Yuka Irie, Toshiya Saga
Location: Unspecified confrontation setting
-
Saga Appears Affected — The confrontation ends with Saga apparently affected by Jissoji's hypnotic commands. Characters: Toshiya Saga, Jissoji, Sakurai
Location: Unspecified confrontation setting
Tracing Yuka's Past
Hospital recollections reveal changes in Yuka's behavior and visits from a candle-carrying social worker called Mouse. Sakurai also finds that a director's stated name cannot be verified in official records.
Key Events
-
Hospital History Revealed — Sakurai learns that Yuka spent several weeks in a hospital. Characters: Sakurai, Yuka Irie
Location: Hospital
-
Yuka's Changing Behavior — A staff member recalls Yuka hearing a voice, eating unusually, and ceasing to respond to her name. Characters: Yuka Irie
Location: Hospital
-
Mouse's Hospital Visits — A staff member recalls a candle-carrying social worker known as Mouse visiting Yuka before she left with a man. Characters: Yuka Irie
Location: Hospital
-
False Identity Clue — Sakurai finds that the name given for a director is absent from official records. Characters: Sakurai
Location: Unspecified investigation setting
The Unresolved Threat
Yuka shifts between distinct personalities during a hypnotic session, while the investigators struggle to bring her back safely. A caller's message and the connection between sounds and suggestions lead into further danger, including a vehicle with failed brakes.
Key Events
-
Personalities Shift — Yuka shifts between distinct personalities during a hypnotic session, and the investigators struggle to bring her back safely. Characters: Yuka Irie, Toshiya Saga, Sakurai
Location: Hypnotic session
-
A Threatening Message — A caller taunts Sakurai about suicides and leaves the message, "From the New World." Characters: Sakurai
Location: Unspecified
-
Sounds and Suggestions — The investigators connect a musical cue and metallic sounds with the timing of hypnotic suggestions. Characters: Toshiya Saga, Sakurai
Location: Unspecified investigation setting
-
Brake Failure — As the investigators try to act on their clue, they discover that a vehicle's brakes do not work. Characters: Toshiya Saga, Sakurai
Location: Vehicle