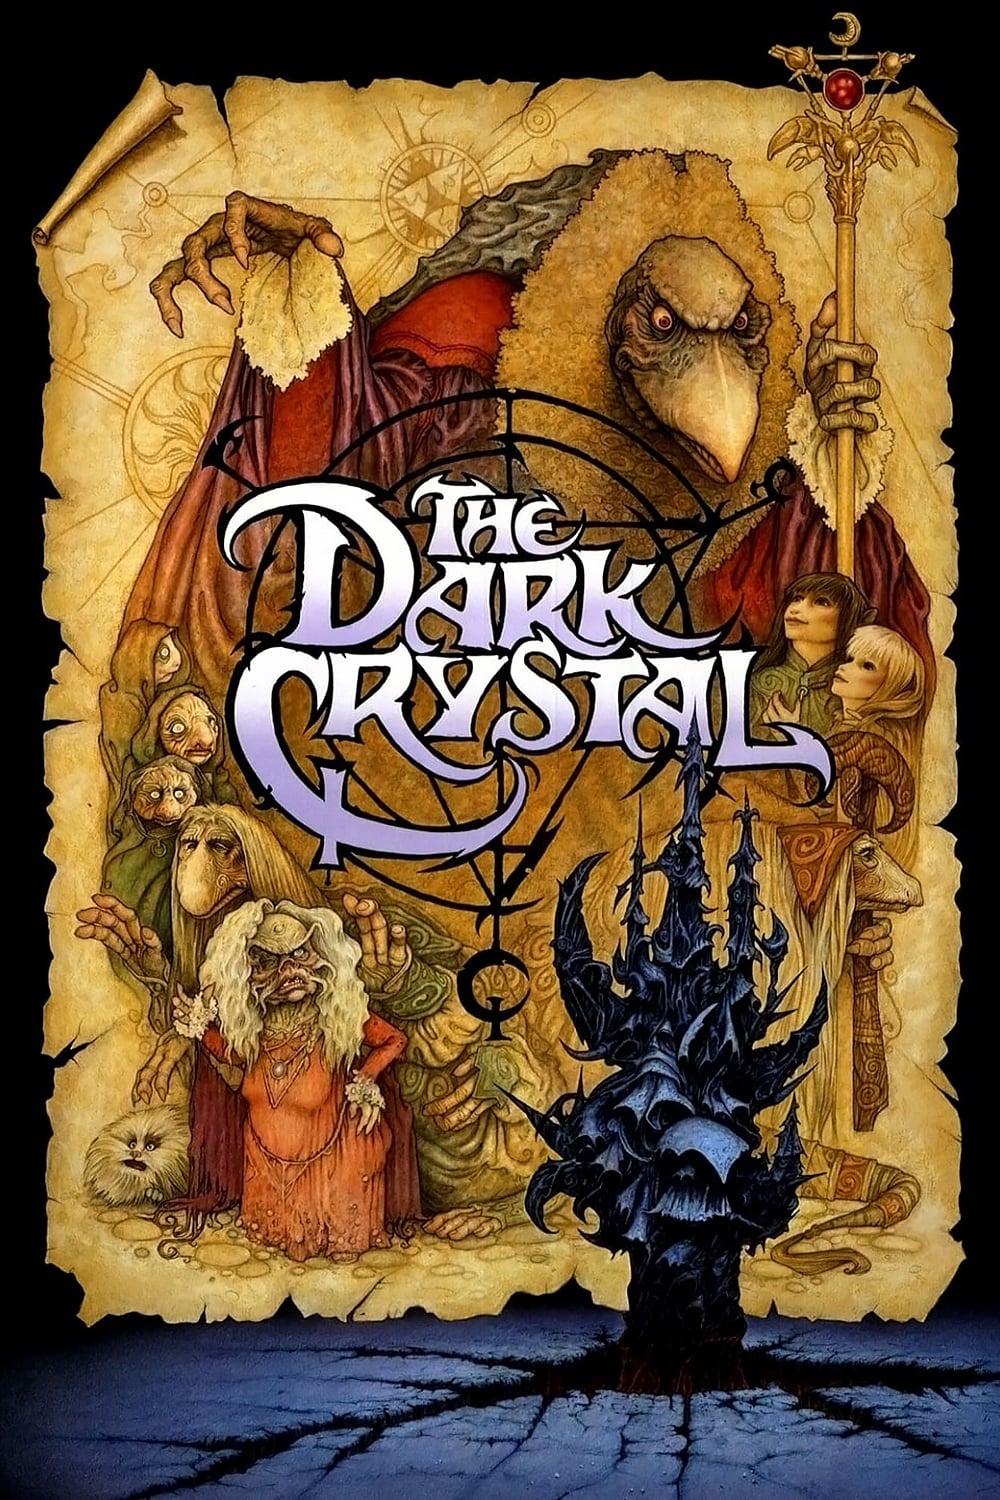
Story Structure — 5 Plot Phases
A Prophecy Under Threat
Jen learns that the crystal must be healed before the three suns meet. The deaths of the Mystic Master and Skeksis Emperor begin a race against time.
Key Events
-
The Crystal Splits — The cracked crystal creates the Skeksis and Mystics, disrupting Thra's balance.
Location: Thra
-
Jen Receives the Prophecy — A dying Mystic instructs Jen to restore the crystal before conjunction. Characters: Jen / High Priest, Ritual Master
Location: Mystic valley
-
The Masters Die — The Mystic Master and Skeksis Emperor die simultaneously. Characters: Jen / High Priest, Ritual Master
Location: Mystic valley
-
Trial by Stone — The General defeats the Chamberlain and banishes him from the castle. Characters: Aughra, a Keeper of Secrets / Chamberlain
Location: Skeksis castle
The Shard and the Hunter
Jen reaches Aughra and identifies the shard through the Mystics' chord. The Garthim destroy the orrery, capture Aughra, and intensify the pursuit.
Key Events
-
The Garthim Hunt Jen — The Garthim army is sent to capture Jen, with the Chamberlain following. Characters: Jen / High Priest, Ritual Master, Aughra, a Keeper of Secrets / Chamberlain
Location: Thra wilderness
-
The Shard Chooses Jen — Jen plays the Mystics' chord, and one shard responds to him. Characters: Jen / High Priest, Ritual Master, Aughra, a Keeper of Secrets / Chamberlain
Location: Aughra's orrery
-
The Orrery Is Destroyed — The Garthim destroy the orrery and take Aughra prisoner as Jen escapes. Characters: Jen / High Priest, Ritual Master, Aughra, a Keeper of Secrets / Chamberlain
Location: Aughra's orrery
-
The Mystics Leave — The Mystics hear the crystal and begin their journey to the castle. Characters: Jen / High Priest, Ritual Master
Location: Mystic valley
Dreamfast in Exile
Jen meets Kira and gains a partner through dreamfasting. Their refuge is destroyed by a Garthim raid, and a ruined city confirms their destination.
Key Events
-
Jen Meets Kira — Jen meets Kira, and they begin learning about each other. Characters: Jen / High Priest, Ritual Master, Kira, a Gelfling
Location: Forest swamp
-
Dreamfast Memories — Jen and Kira accidentally share memories through dreamfasting. Characters: Jen / High Priest, Ritual Master, Kira, a Gelfling
Location: Forest swamp
-
The Village Raid — The Garthim raid the village, forcing Jen and Kira to flee. Characters: Jen / High Priest, Ritual Master, Kira, a Gelfling, Aughra, a Keeper of Secrets / Chamberlain
Location: Podling village
-
The Ruined Prophecy — An inscription confirms that Jen must take the shard to the castle. Characters: Jen / High Priest, Ritual Master, Kira, a Gelfling
Location: Ruined Gelfling city
-
The Chamberlain's Plea — The Chamberlain begs the Gelflings to accompany him to the castle. Characters: Jen / High Priest, Ritual Master, Kira, a Gelfling, Aughra, a Keeper of Secrets / Chamberlain
Location: Ruined Gelfling city
The Castle of Drained Life
The Gelflings reach the castle and enter through its moat and catacombs. The Chamberlain captures Kira, while the Scientist's extraction threatens her life.
Key Events
-
Landstriders Reach the Castle — Jen and Kira ride Landstriders and intercept the Garthim near the castle. Characters: Jen / High Priest, Ritual Master, Kira, a Gelfling
Location: Castle approach
-
Kira Reveals Her Wings — Kira glides into the dry moat, carrying Jen and Fizzgig to safety. Characters: Jen / High Priest, Ritual Master, Kira, a Gelfling
Location: Castle dry moat
-
The Catacombs Entrance — The Gelflings enter the castle through the catacombs. Characters: Jen / High Priest, Ritual Master, Kira, a Gelfling
Location: Castle catacombs
-
Essence Extraction — The Scientist extracts Podling essence while Kira is prepared for draining. Characters: Aughra, a Keeper of Secrets / Chamberlain, Scientist, Kira, a Gelfling
Location: Castle laboratory
-
The Chamberlain Strikes — Jen wounds the Chamberlain, is buried in a cave-in, and Kira is seized. Characters: Jen / High Priest, Ritual Master, Kira, a Gelfling, Aughra, a Keeper of Secrets / Chamberlain
Location: Castle passageways
-
The Laboratory Breakout — Kira calls the captive animals, who attack the Scientist and disrupt the draining. Characters: Aughra, a Keeper of Secrets / Chamberlain, Scientist, Kira, a Gelfling, Jen / High Priest, Ritual Master
Location: Castle laboratory
-
Jen Climbs the Shaft — Awakened by Kira's call, Jen climbs from the shaft toward the laboratory. Characters: Jen / High Priest, Ritual Master, Kira, a Gelfling, Aughra, a Keeper of Secrets / Chamberlain
Location: Crystal shaft and laboratory
Conjunction and Renewal
Kira returns the shard to Jen during the final assault. The crystal is healed, the Skeksis and Mystics reunite, and Thra is restored.
Key Events
-
Jen Climbs the Shaft — Awakened by Kira's call, Jen climbs from the shaft toward the laboratory. Characters: Jen / High Priest, Ritual Master, Kira, a Gelfling, Aughra, a Keeper of Secrets / Chamberlain
Location: Crystal shaft and laboratory
-
Kira Returns the Shard — Kira retrieves the dropped shard and throws it back to Jen during the attack. Characters: Jen / High Priest, Ritual Master, Kira, a Gelfling, Aughra, a Keeper of Secrets / Chamberlain
Location: Crystal chamber
-
The Crystal Is Healed — Jen plunges the shard into the crystal as the three suns align. Characters: Jen / High Priest, Ritual Master, Kira, a Gelfling
Location: Crystal chamber
-
The Skeksis Dissolve — The Garthim disintegrate, the castle's dark covering crumbles, and the Skeksis merge with the Mystics. Characters: Jen / High Priest, Ritual Master, Kira, a Gelfling, Aughra, a Keeper of Secrets / Chamberlain
Location: Castle crystal chamber
-
Kira Is Revived — The urSkek leader explains the ancient fracture and revives Kira before ascending. Characters: Jen / High Priest, Ritual Master, Kira, a Gelfling
Location: Castle crystal chamber