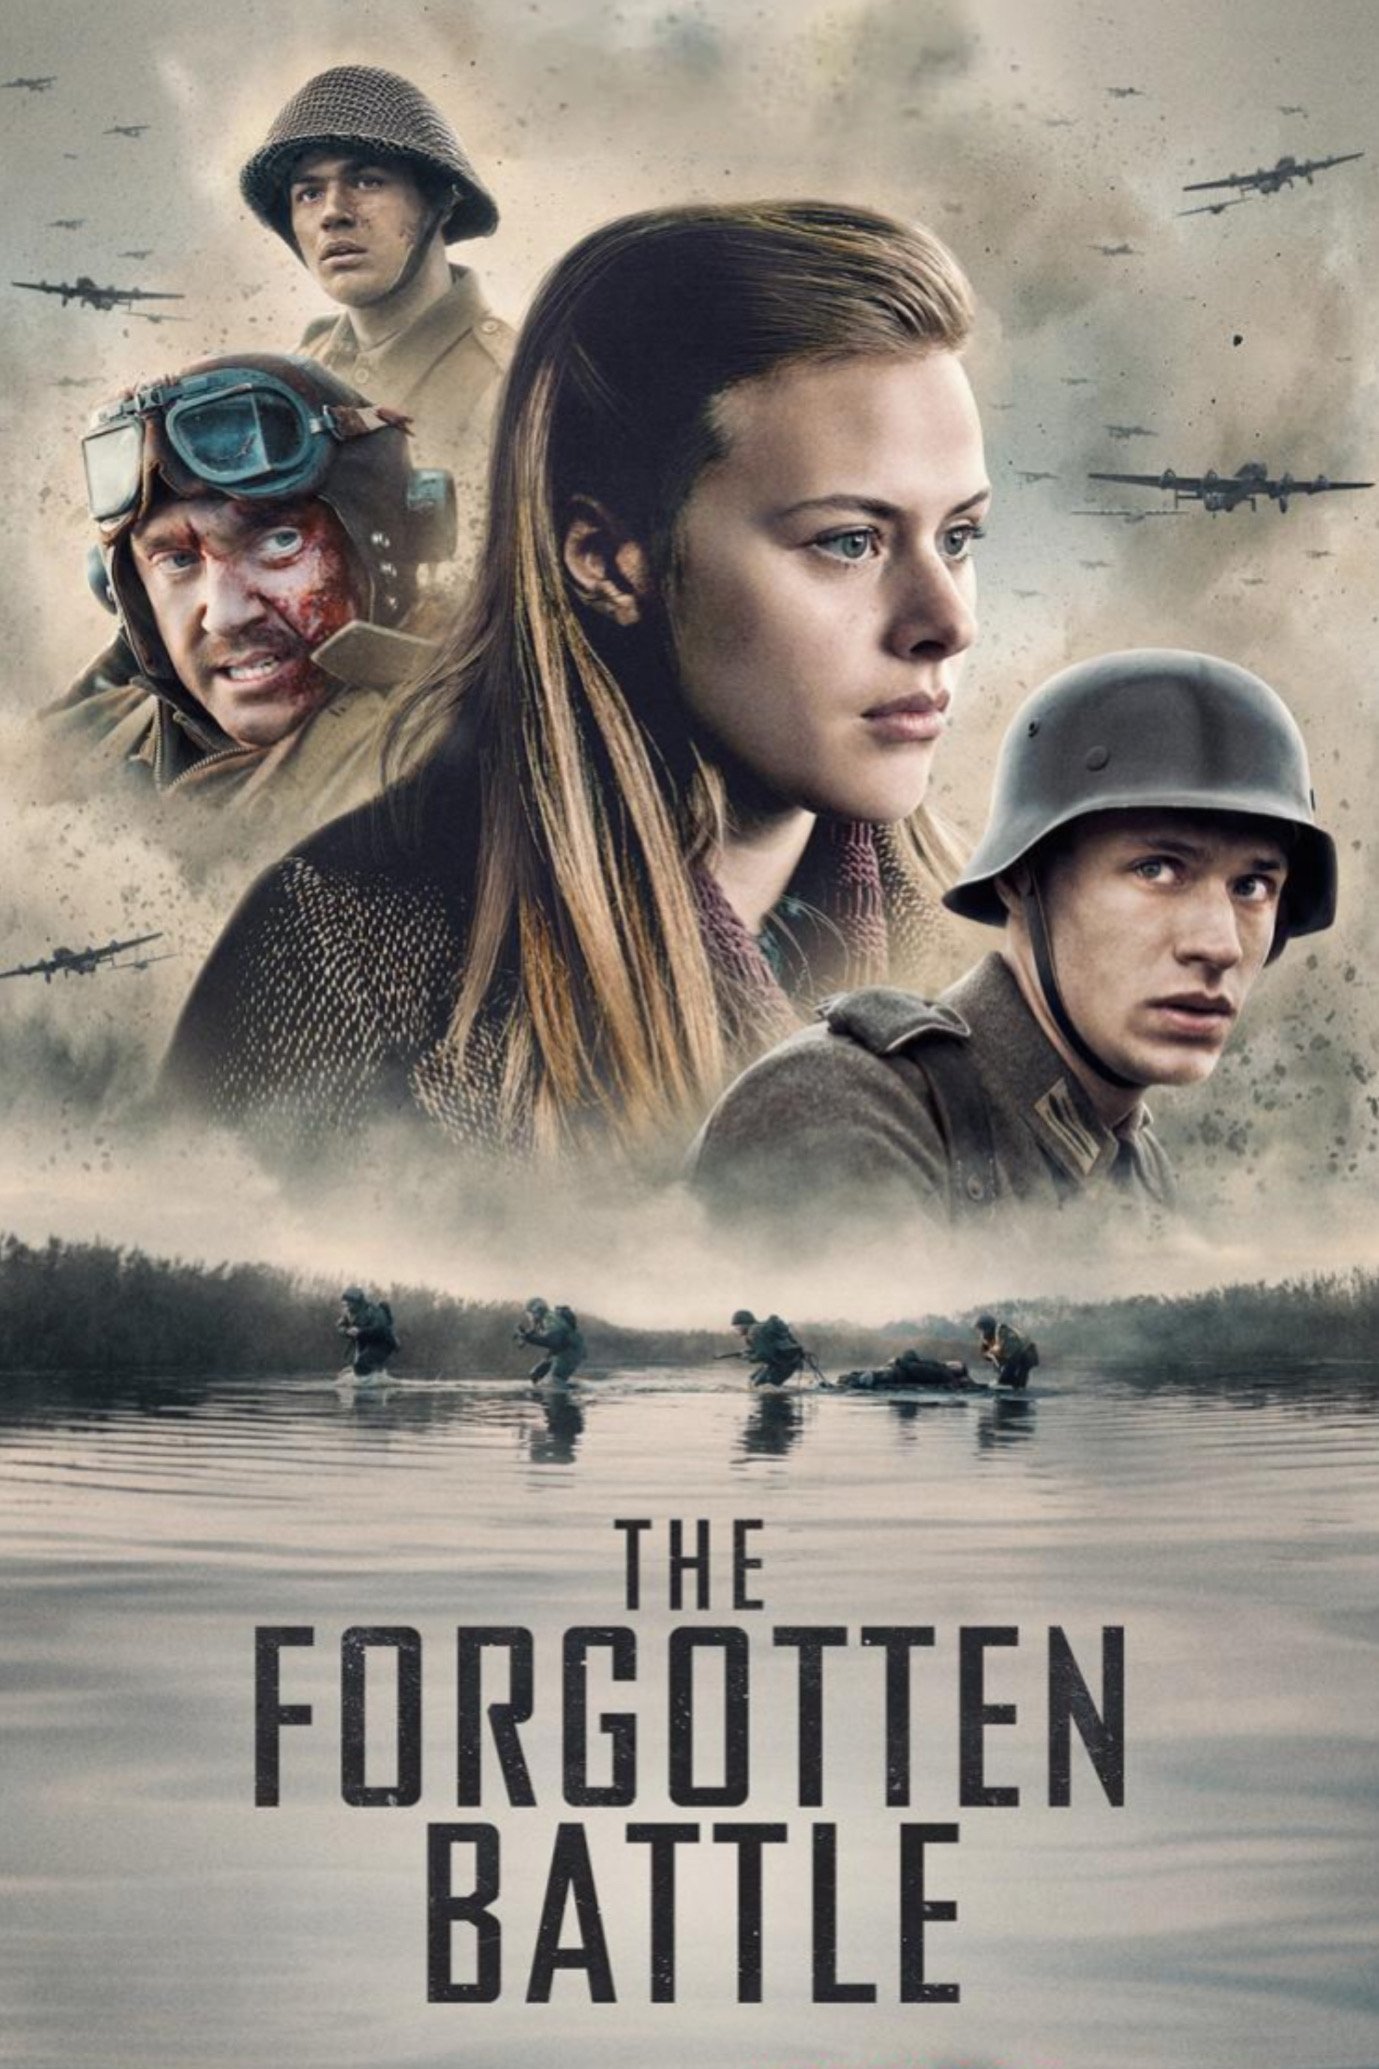
Story Structure — 6 Plot Phases
Occupation and Arrest
Teuntje works in a collaborationist office while Dirk participates in the Resistance. Dirk's arrest and forced betrayal expose the brutality of the occupation.
Key Events
-
Occupation Office Introduced — Teuntje works in the collaborationist office as Allied forces approach Zeeland. Characters: Teuntje Visser, Mayor Oostveen, Doctor Visser
Location: Mayor Oostveen's office in Zeeland
-
Dirk Attacks Convoy — Resistance member Dirk throws a rock at a German convoy and is arrested. Characters: Dirk Visser
Location: German-held Zeeland
-
Dirk Betrays Names — Under torture, Dirk reveals the names of other Resistance members. Characters: Dirk Visser
Location: German detention facility
-
Marinus Joins Command — Marinus becomes Berghof's secretary and translator after leaving the Eastern Front. Characters: Marinus van Staveren, Oberst Berghof
Location: German command headquarters
The Sentence of Dirk
Marinus serves Berghof but becomes disturbed by German repression. Negotiations fail, Dirk is executed, and Marinus is punished for trying to warn Teuntje.
Key Events
-
Hostage Executions — Marinus grows disillusioned after witnessing the occupation's harsh executions. Characters: Marinus van Staveren, Oberst Berghof
Location: German-occupied Zeeland
-
Sentence Negotiation — Teuntje and Doctor Visser ask Berghof to reduce Dirk's sentence. Characters: Teuntje Visser, Doctor Visser, Marinus van Staveren, Oberst Berghof, Dirk Visser
Location: Berghof's office
-
Dirk Condemned — Despite assurances, Berghof orders Dirk executed with other Resistance members. Characters: Dirk Visser, Oberst Berghof, Marinus van Staveren, Teuntje Visser
Location: German command headquarters
-
Secret Warning Exposed — Marinus tries to warn Teuntje but is seen and reported to Berghof. Characters: Marinus van Staveren, Teuntje Visser, Oberst Berghof
Location: Outside Berghof's office
-
Forced Firing Squad — Berghof assigns Marinus to the firing squad for Dirk's execution. Characters: Marinus van Staveren, Oberst Berghof, Dirk Visser
Location: Execution ground in Zeeland
-
Dirk Is Executed — Dirk is executed alongside other Resistance members. Characters: Dirk Visser, Marinus van Staveren
Location: Execution ground in Zeeland
Resistance Intelligence
Dirk's hidden photographs draw Teuntje into the Resistance. She steals a tidal map and prepares to send the intelligence toward the Allied advance with Janna.
Key Events
-
Hidden Photographs Found — Teuntje learns that Dirk photographed German positions along the Scheldt. Characters: Teuntje Visser, Dirk Visser
Location: Zeeland
-
Map Stolen — Teuntje steals a map showing a deep section of the Sloe Channel. Characters: Teuntje Visser, Mayor Oostveen
Location: Mayor Oostveen's office
-
Glider Crashes — Anti-aircraft fire hits the glider, forcing the Allied group to crash-land. Characters: William Sinclair, Tony Turner, Henk Schneijder
Location: Flooded estuary in Zeeland
-
Flight Through Marshes — The three soldiers shelter at a farmhouse and learn Market Garden has failed. Characters: William Sinclair, Tony Turner, Henk Schneijder
Location: Flooded marshes near Zeeland
Stranded Allied Soldiers
Sinclair, Turner, and Henk crash in the flooded estuary after Operation Market Garden. Turner dies during a German attack, and Sinclair leaves the exhausted Henk behind.
Key Events
-
Glider Crashes — Anti-aircraft fire hits the glider, forcing the Allied group to crash-land. Characters: William Sinclair, Tony Turner, Henk Schneijder
Location: Flooded estuary in Zeeland
-
Flight Through Marshes — The three soldiers shelter at a farmhouse and learn Market Garden has failed. Characters: William Sinclair, Tony Turner, Henk Schneijder
Location: Flooded marshes near Zeeland
-
Turner Killed — German soldiers attack, and the wounded Turner is killed. Characters: William Sinclair, Tony Turner, Henk Schneijder
Location: Flooded terrain in Zeeland
-
Henk Left Behind — Unable to swim and exhausted, Henk is left behind as Sinclair continues. Characters: William Sinclair, Henk Schneijder
Location: Flooded terrain near Allied lines
The Map Reaches Walcheren
Teuntje and Janna attempt to deliver the intelligence. Janna dies after getting the map to Allied soldiers, allowing a waterborne flank attack.
Key Events
-
Courier Mission Begins — Teuntje and Janna carry the map and photographs toward Allied forces. Characters: Teuntje Visser, Janna
Location: Zeeland countryside
-
Janna Delivers Map — Janna is shot but delivers the map to Allied soldiers before dying. Characters: Teuntje Visser, Janna
Location: Approach to Walcheren
-
Causeway Assault Fails — Sinclair joins the costly frontal attack against Marinus's German defenses. Characters: William Sinclair, Marinus van Staveren
Location: Walcheren Causeway
A Battlefield of Choices
The Allied frontal assault fails before the map enables a successful flank attack. Sinclair and Marinus spare each other, while Marinus protects Teuntje and dies.
Key Events
-
Flank Attack Begins — The Allies use Janna's map to attack the German defenses across the water. Characters: William Sinclair, Marinus van Staveren
Location: Water approach to Walcheren
-
Guns Lowered — Sinclair and Marinus hold each other at gunpoint before letting each other go. Characters: William Sinclair, Marinus van Staveren
Location: Walcheren battlefield
-
Marinus Protects Teuntje — Marinus kills a German soldier attacking Teuntje but is shot during the struggle. Characters: Marinus van Staveren, Teuntje Visser
Location: Liberated town in Walcheren
-
Marinus Dies — Teuntje tends to Marinus, who dies from his injuries as the town is liberated. Characters: Marinus van Staveren, Teuntje Visser
Location: Town near Walcheren
-
Antwerp Reopens — The epilogue links the Allied victory to Antwerp's reopening and Dutch liberation.
Location: The Netherlands