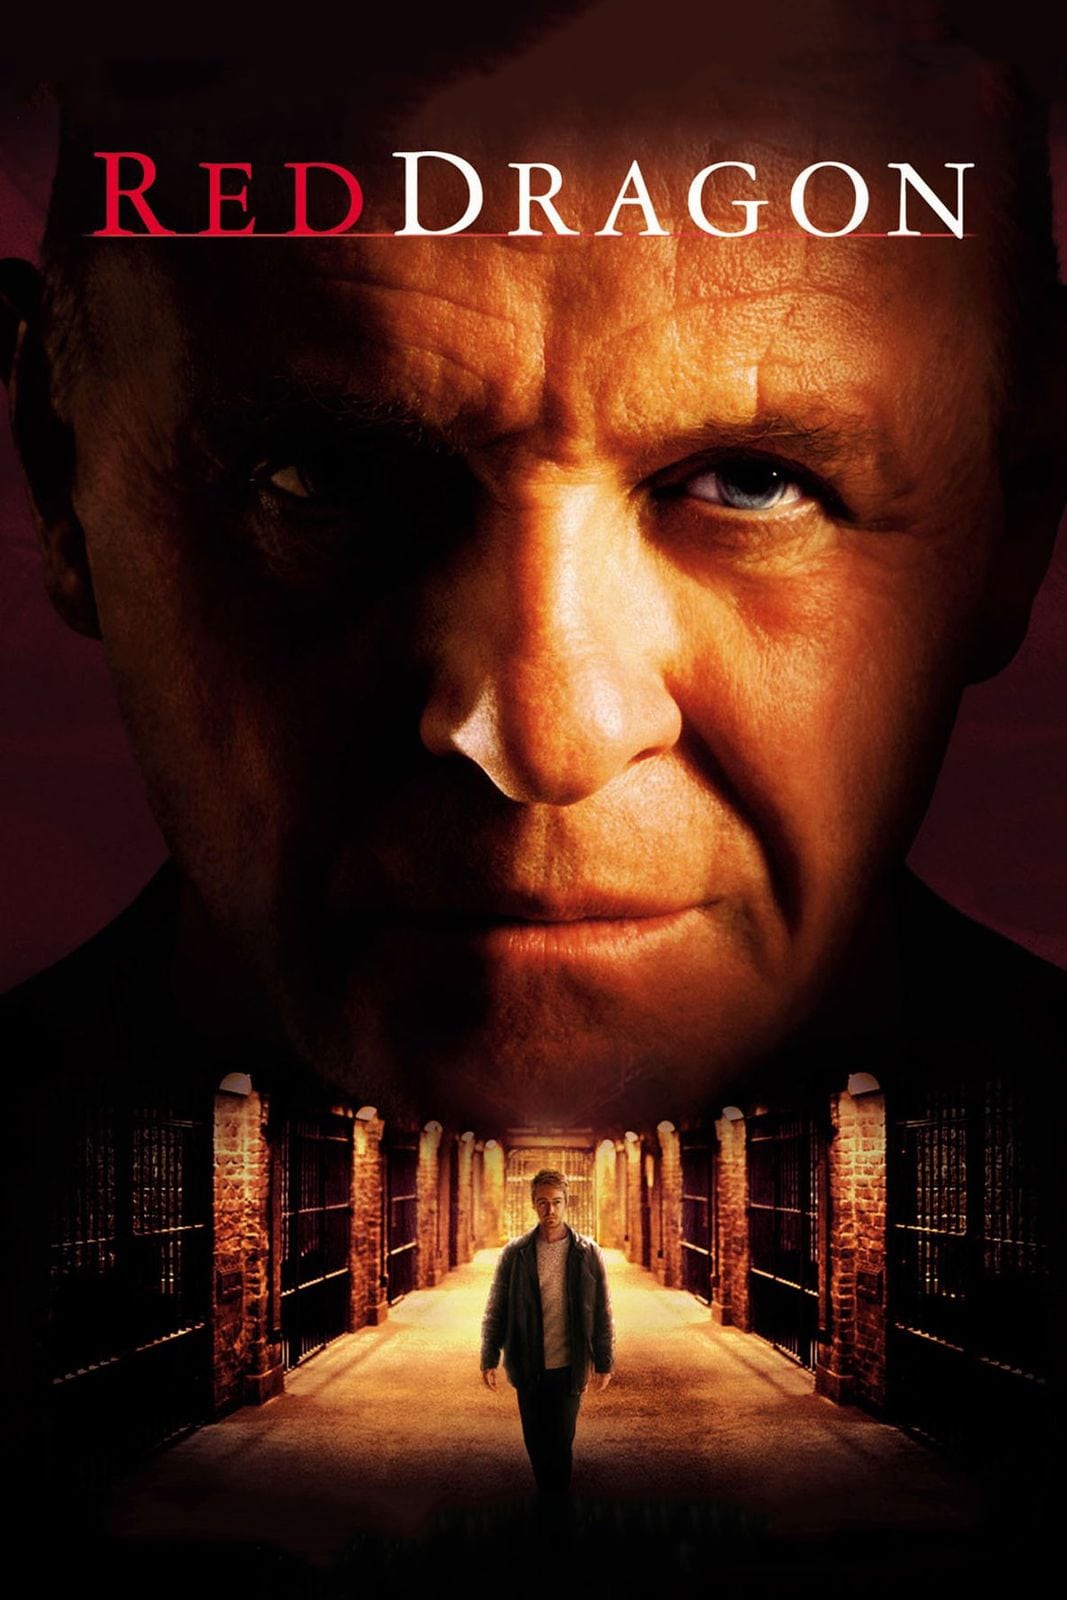
Story Structure — 5 Plot Phases
The Cannibal Behind The Profile
Will Graham consults Hannibal Lecter while profiling a cannibalistic killer. A recipe in Lecter's study exposes him, leading to a violent confrontation and Will's retirement.
Key Events
-
Lecter Profile Consultation — Will consults Lecter while profiling a cannibalistic serial killer. Characters: Will Graham, Hannibal Lecter
Location: Lecter's study
-
The Recipe Discovery — A bookmarked recipe reveals Lecter used human organs in cooking. Characters: Will Graham, Hannibal Lecter
Location: Lecter's study
-
Lecter Arrested — Lecter stabs Will, but Will wounds and shoots him before collapsing. Characters: Will Graham, Hannibal Lecter
Location: Lecter's residence
-
Will Leaves The Bureau — After Lecter's conviction, trauma drives Will into retirement. Characters: Will Graham
Location: Florida
A Killer Returns
A new serial killer murders families under the full moon. Jack Crawford brings Will back to the case, and Will reluctantly seeks Lecter's insight.
Key Events
-
The Tooth Fairy Murders — Dolarhyde murders two families during separate full moons. Characters: Francis Dolarhyde
Location: Multiple residences
-
Crawford Recruits Graham — Jack persuades retired Will to review the new murder evidence. Characters: Will Graham, Jack Crawford
Location: Florida
-
Will Returns To Lecter — Will consults Lecter because the Tooth Fairy remains psychologically unreadable. Characters: Will Graham, Hannibal Lecter
Location: Prison hospital
-
The Address Is Exposed — Lecter answers Dolarhyde with Will's home address. Characters: Hannibal Lecter, Francis Dolarhyde
Location: Lecter's cell
Bait And Retaliation
Lecter directs the killer toward Will's address. Will uses Freddy Lounds to provoke the killer, but the tactic ends in Freddy's brutal murder.
Key Events
-
The Address Is Exposed — Lecter answers Dolarhyde with Will's home address. Characters: Hannibal Lecter, Francis Dolarhyde
Location: Lecter's cell
-
The Baited Interview — Will publicly insults the killer to provoke a reaction. Characters: Will Graham, Freddy Lounds
Location: Newspaper office
-
Lounds Is Abducted — Dolarhyde forces Freddy to recant the interview on tape. Characters: Francis Dolarhyde, Freddy Lounds
Location: Unknown holding site
-
The Reporter Burns — Dolarhyde sets Freddy on fire, killing him. Characters: Francis Dolarhyde, Freddy Lounds
Location: Unknown holding site
Affection Against The Dragon
Dolarhyde begins a relationship with Reba while struggling against his violent identity. Will connects the murders to Chromalux and uncovers the killer's access to home videos.
Key Events
-
Dolarhyde Meets Reba — Dolarhyde begins a relationship with blind co-worker Reba. Characters: Francis Dolarhyde, Reba McClane
Location: Chromalux
-
The Painting Is Destroyed — Dolarhyde tears apart and eats the Blake painting. Characters: Francis Dolarhyde
Location: Brooklyn Museum
-
Home Videos Reveal Access — Will realizes the killer learned house layouts from home videos. Characters: Will Graham, Jack Crawford
Location: Investigation office
-
Chromalux Becomes The Lead — Will concludes that the killer works at Chromalux. Characters: Will Graham, Francis Dolarhyde
Location: Chromalux
The Home Invasion
Dolarhyde stages his death, but the deception is exposed through an autopsy and his journal. He attacks Will at home, where the final shootout ends his killing spree.
Key Events
-
Dolarhyde Stages His Death — Dolarhyde takes drugged Reba to a burning house and stages his suicide. Characters: Francis Dolarhyde, Reba McClane
Location: Dolarhyde's house
-
The Staged Death Exposed — The autopsy reveals Dolarhyde used another body to fake his death. Characters: Will Graham, Francis Dolarhyde
Location: Autopsy facility
-
The Journal Explains The Monster — Will reads the journal and recognizes the effects of systematic abuse. Characters: Will Graham, Francis Dolarhyde
Location: Investigation site
-
The Graham Home Invasion — Dolarhyde infiltrates Will's home and forces a final confrontation. Characters: Will Graham, Francis Dolarhyde
Location: Graham home in Florida
-
The Final Shootout — Will provokes Dolarhyde with abusive words, and both are wounded in the shootout. Characters: Will Graham, Francis Dolarhyde
Location: Graham home in Florida
-
Dolarhyde Is Killed — The confrontation ends with Dolarhyde dead and Will surviving. Characters: Will Graham, Francis Dolarhyde
Location: Graham home in Florida
-
Lecter's Closing Letter — Will receives Lecter's letter praising his work and bidding him well. Characters: Will Graham, Hannibal Lecter
Location: Sailboat