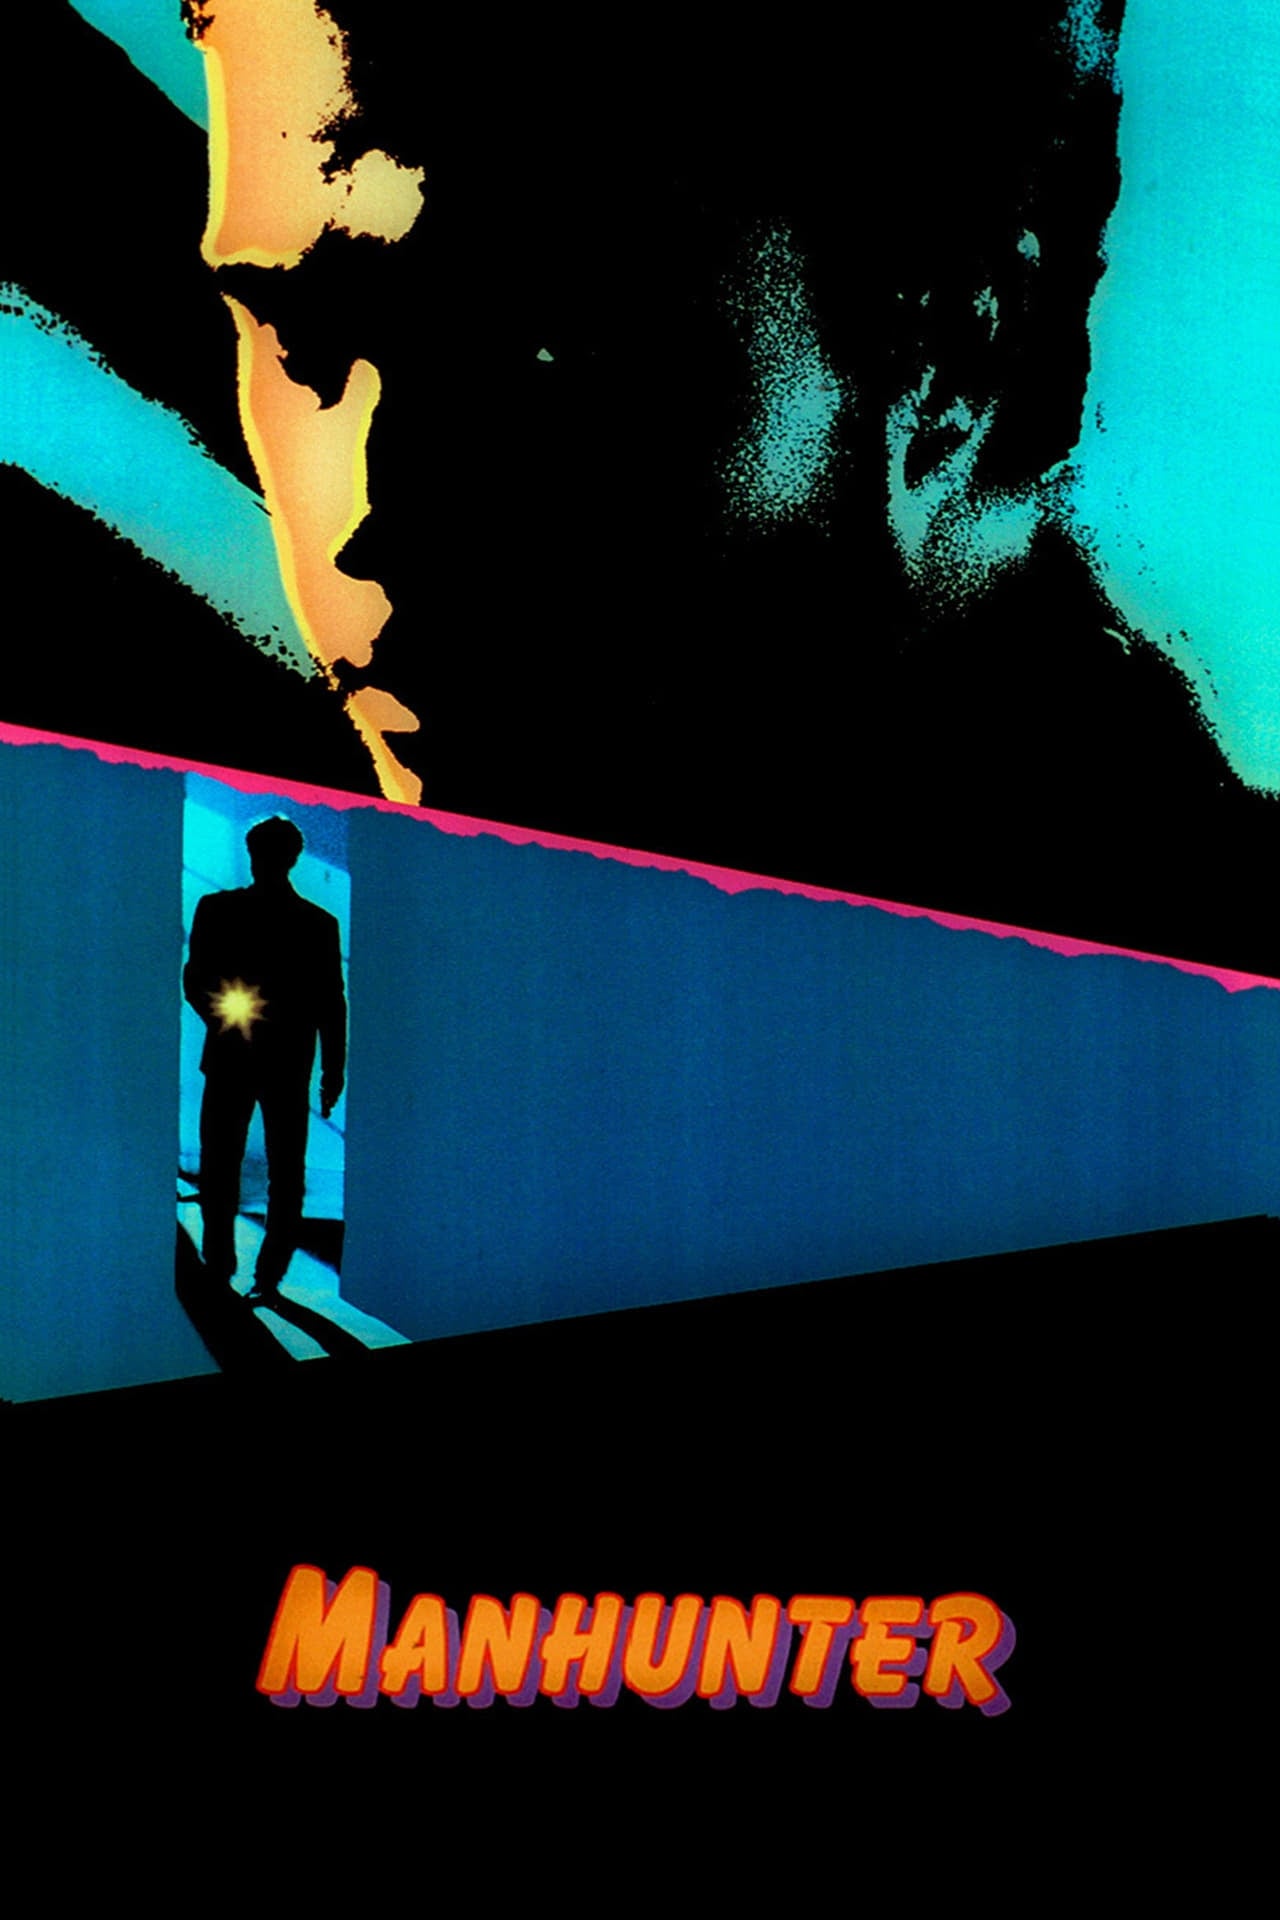
Story Structure — 5 Plot Phases
A Profiler Returns
Retired profiler Will Graham is drawn back into the investigation by Jack Crawford. He examines the Atlanta and Birmingham crime scenes and seeks insight from the imprisoned Lecktor.
Key Events
-
Graham's Florida Retirement — Graham lives in retirement after Lecktor's attack and his resulting mental breakdown. Characters: Will Graham
Location: Graham's Florida home
-
Crawford Requests Help — Crawford asks Graham to investigate the new Tooth Fairy murders. Characters: Will Graham, Jack Crawford
Location: Graham's Florida home
-
Atlanta Crime Scene — Graham reconstructs the killer's mindset and suggests where fingerprints may be found. Characters: Will Graham
Location: Atlanta crime scene
-
Lounds Confronts Graham — Graham and Crawford are accosted by tabloid reporter Freddy Lounds. Characters: Will Graham, Jack Crawford, Freddy Lounds
Location: Atlanta police investigation area
-
Lecktor Offers Insight — Graham asks Lecktor to examine the case and explain the killer's motivations. Characters: Will Graham, Dr. Hannibal Lecktor
Location: Lecktor's secure cell
-
Lecktor Steals Address — Lecktor deceitfully obtains Graham's home address during a supposed attorney call. Characters: Dr. Hannibal Lecktor, Will Graham
Location: Lecktor's secure cell
Messages Through The Press
A note from the Tooth Fairy links the killer to Lecktor and directs communication through the National Tattler. Graham uses Freddy Lounds and a false profile to bait the killer.
Key Events
-
Birmingham Crime Scene — Graham examines the first crime scene and receives a call from Crawford. Characters: Will Graham, Jack Crawford
Location: Birmingham crime scene
-
Tooth Fairy Note Found — A note from the Tooth Fairy is found among Lecktor's personal effects. Characters: Will Graham, Jack Crawford, Dr. Hannibal Lecktor
Location: FBI investigation offices
-
Coded Advertisement Decoded — Investigators discover instructions to communicate through the National Tattler personals. Characters: Will Graham, Jack Crawford, Dr. Hannibal Lecktor, Freddy Lounds
Location: Washington FBI offices
-
Fake Profile Sting — Graham gives Lounds a false profile intended to provoke the Tooth Fairy into a sting. Characters: Will Graham, Jack Crawford, Freddy Lounds, Francis Dollarhyde
Location: National Tattler offices
-
Sting Operation Fails — The FBI's attempt to catch the killer fails because the communication remains difficult to authenticate. Characters: Will Graham, Jack Crawford, Freddy Lounds, Francis Dollarhyde
Location: Sting-operation site
The Warning Ignites
The sting operation fails, and Dollarhyde abducts and burns Lounds as a warning. The FBI then decodes Lecktor's message ordering an attack on Graham's family.
Key Events
-
Lounds Is Abducted — Dollarhyde kidnaps Lounds and forces him to record a statement. Characters: Freddy Lounds, Francis Dollarhyde
Location: National Tattler parking area
-
Lounds Set Ablaze — Dollarhyde sets Lounds on fire and leaves him as a warning to the newspaper. Characters: Freddy Lounds, Francis Dollarhyde
Location: National Tattler parking garage
-
Graham's Address Revealed — The FBI decodes Lecktor's message as Graham's home address and a murder instruction. Characters: Will Graham, Jack Crawford, Dr. Hannibal Lecktor, Francis Dollarhyde
Location: FBI offices
-
Family Safe House — Graham finds his family safe but terrified before the FBI moves them to a safe house. Characters: Will Graham
Location: Graham's Florida home
The Killer's Hidden Life
Dollarhyde develops a complicated bond with Reba while secretly watching home movies of future victims. Graham explains his past trauma and identifies the film laboratory behind the murders.
Key Events
-
Dollarhyde Meets Reba — Dollarhyde offers blind coworker Reba a ride and takes her to his home. Characters: Francis Dollarhyde, Reba McClane
Location: St. Louis film laboratory
-
Graham Explains Retirement — Graham explains to his son why he previously retired from profiling. Characters: Will Graham
Location: Safe house
-
Reba Becomes A Target — After misreading Reba's interaction with a coworker, Dollarhyde kills the man and abducts Reba. Characters: Francis Dollarhyde, Reba McClane
Location: Dollarhyde's home
-
Home Movies Expose Killer — Graham connects the murdered families through home movies and identifies the processing laboratory. Characters: Will Graham, Jack Crawford
Location: Investigation offices
Glass And Gunfire
Graham and Crawford reach Dollarhyde's home as Reba is about to be killed. Dollarhyde opens fire, but Graham kills him and returns to his family after the survivors receive medical care.
Key Events
-
Raid On Dollarhyde Home — Graham and Crawford arrive with police as Dollarhyde prepares to kill Reba. Characters: Will Graham, Jack Crawford, Francis Dollarhyde, Reba McClane
Location: Dollarhyde's home
-
Final Firefight — Graham enters through a window; Dollarhyde shoots officers, wounds Crawford, and is killed by Graham. Characters: Will Graham, Jack Crawford, Francis Dollarhyde, Reba McClane
Location: Dollarhyde's kitchen and living area
-
Graham Returns Home — Paramedics tend to the survivors, and Graham returns home after checking on the Sherman family. Characters: Will Graham, Jack Crawford, Reba McClane
Location: Graham's home