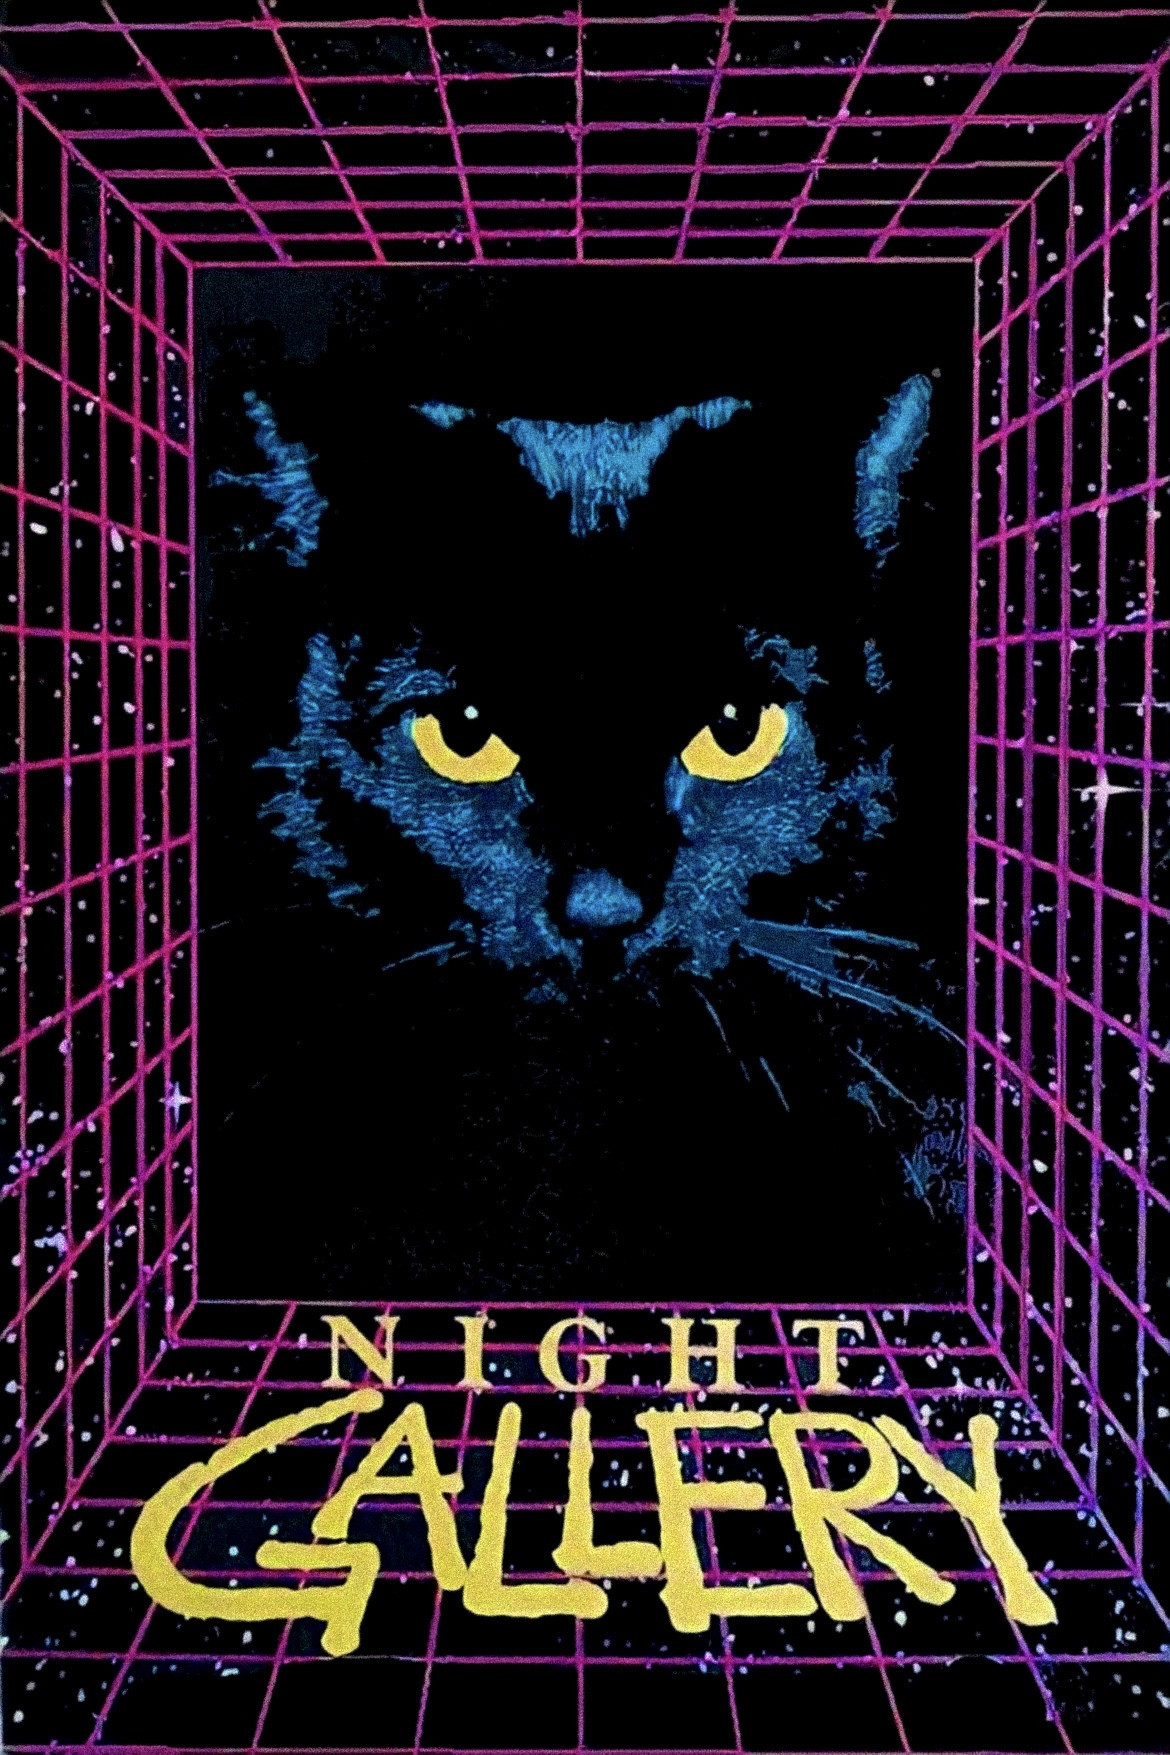
Plot Analysis Summary
Three supernatural tales connect guilt, exploitation, and historical crime with paintings that expose or punish the characters who try to escape responsibility.
Story Structure — 4 Plot Phases
The Cemetery's Revenge
Jeremy murders his wealthy uncle for the inheritance. Osmond uses changing cemetery paintings to torment him, then discovers that the same apparent haunting has turned against him.
Key Events
-
Jeremy Murders His Uncle — Jeremy kills his wealthy uncle to obtain the inheritance. Characters: Jeremy Evans, Hendricks
Location: Hendricks's estate
-
Osmond Faces the Loss — The loyal butler remains after his employer's murder and Jeremy's inheritance motive becomes clear. Characters: Osmond Portifoy, Jeremy Evans
Location: Hendricks's estate
-
The Empty Grave Appears — Jeremy notices that a fresh empty grave has appeared in the family cemetery painting. Characters: Jeremy Evans
Location: Jeremy's residence
-
The Coffin Enters the Painting — A coffin standing upright appears within the painted graveyard. Characters: Jeremy Evans
Location: Jeremy's residence
-
The Uncle Approaches — The painting progressively depicts Hendricks returning from the burial site and moving closer. Characters: Jeremy Evans, Hendricks
Location: Jeremy's residence
-
Jeremy Breaks Down — Pounding at the door makes Jeremy seize the painting and insist that Hendricks is dead. Characters: Jeremy Evans
Location: Staircase at the estate
-
Jeremy Falls to His Death — Jeremy tumbles down the stairs and dies during his panic. Characters: Jeremy Evans
Location: Estate staircase
-
Osmond Reveals the Scheme — Osmond appears and reveals that an artist friend created the paintings for his plan. Characters: Osmond Portifoy, Jeremy Evans
Location: Estate entrance
-
The Inheritance Clause — Osmond explains that the will gives him everything if no living heirs remain. Characters: Osmond Portifoy, Hendricks
Location: Hendricks's estate
-
The Painting Turns on Osmond — The painting begins depicting a fresh grave, coffin, and Jeremy inside it. Characters: Osmond Portifoy, Jeremy Evans
Location: Hendricks's estate
-
Osmond Hears the Pounding — The same pounding comes from the door, and Osmond collapses in fear. Characters: Osmond Portifoy
Location: Hendricks's estate
-
The Door Opens — The door swings open as the first segment fades to black. Characters: Osmond Portifoy
Location: Estate entrance
The Price of Sight
Miss Menlo pays Sidney for his eyes and forces Dr. Frank Heatherton to perform an illegal transplant. A blackout and the rapid loss of vision transform her hoped-for recovery into panic.
Key Events
-
The Door Opens — The door swings open as the first segment fades to black. Characters: Osmond Portifoy
Location: Estate entrance
-
The Eye Bargain — Sidney agrees to provide his eyes to Miss Menlo for nine thousand dollars. Characters: Miss Menlo, Sidney Resnick
Location: Miss Menlo's penthouse
-
The Doctor Is Blackmailed — Miss Menlo blackmails Dr. Frank Heatherton into performing the illegal transplant. Characters: Miss Menlo, Dr. Frank Heatherton
Location: Medical operating room
-
The Limited Vision Warning — The doctor warns that Miss Menlo's restored sight will last only about eleven hours. Characters: Miss Menlo, Dr. Frank Heatherton
Location: Medical operating room
-
The Blackout Strikes — Miss Menlo removes the bandages, but a blackout occurs seconds after her sight returns. Characters: Miss Menlo
Location: Miss Menlo's penthouse
-
Miss Menlo Descends — Believing the doctor betrayed her, Miss Menlo curses him while stumbling down the stairs. Characters: Miss Menlo, Dr. Frank Heatherton
Location: Penthouse staircase
-
Collapse in the Alley — Miss Menlo reaches the ground floor and collapses in an alley. Characters: Miss Menlo
Location: Alley
-
The Power Failure Explained — A cop explains that the blackout was caused by a power failure, not betrayal. Characters: Miss Menlo
Location: Nearby street
-
Sight Returns Briefly — Miss Menlo awakens in her apartment, sees the sunrise, and then watches her sight fade. Characters: Miss Menlo
Location: Miss Menlo's penthouse
-
The Window Cracks — Panicking as her vision disappears, Miss Menlo beats on the window and cracks the glass. Characters: Miss Menlo
Location: Miss Menlo's penthouse
A Fugitive in the Gallery
Strobe, a Nazi fugitive, enters a museum while fleeing real and imagined pursuers. Bleum's presence and the concentration-camp painting bring Strobe's past closer to exposure.
Key Events
-
The Window Cracks — Panicking as her vision disappears, Miss Menlo beats on the window and cracks the glass. Characters: Miss Menlo
Location: Miss Menlo's penthouse
-
Strobe Enters the Museum — The fugitive Strobe enters a museum while fleeing imagined pursuers and meets Bleum. Characters: SS-Gruppenführer Helmut Arndt / Josef Strobe, Bleum
Location: Museum
-
The Camp Painting — Bleum discusses a painting of a prisoner crucified in a concentration camp, unaware of Strobe's identity. Characters: SS-Gruppenführer Helmut Arndt / Josef Strobe, Bleum
Location: Museum gallery
-
The Fisherman Painting — Strobe becomes absorbed in a fisherman painting and imagines peace while fishing on its river. Characters: SS-Gruppenführer Helmut Arndt / Josef Strobe
Location: Museum gallery
-
Bleum Recognizes Strobe — Bleum recognizes Strobe as a Nazi fugitive, threatening Strobe's anonymity. Characters: SS-Gruppenführer Helmut Arndt / Josef Strobe, Bleum
Location: Museum gallery
Judgment in the Canvas
Strobe kills Bleum, escapes custody, and returns to the museum seeking refuge inside a peaceful fisherman painting. The painting has been replaced by an image of crucifixion, delivering his final judgment.
Key Events
-
Bleum Recognizes Strobe — Bleum recognizes Strobe as a Nazi fugitive, threatening Strobe's anonymity. Characters: SS-Gruppenführer Helmut Arndt / Josef Strobe, Bleum
Location: Museum gallery
-
Strobe Kills Bleum — Strobe kills Bleum to prevent him from exposing his identity. Characters: SS-Gruppenführer Helmut Arndt / Josef Strobe, Bleum
Location: Museum
-
Strobe Bargains for Freedom — After being caught, Strobe offers information about other war criminals in exchange for freedom. Characters: SS-Gruppenführer Helmut Arndt / Josef Strobe
Location: Police custody
-
Strobe Escapes Custody — Strobe manages to break free and returns desperately to the museum. Characters: SS-Gruppenführer Helmut Arndt / Josef Strobe
Location: Police custody
-
The Painting's Final Judgment — Strobe disappears after praying to enter the painting; the fisherman image has been replaced by the crucified man. Characters: SS-Gruppenführer Helmut Arndt / Josef Strobe
Location: Museum gallery
-
Moans from the Painting — Police hear painful moans but cannot locate them, implying Strobe's final supernatural judgment. Characters: SS-Gruppenführer Helmut Arndt / Josef Strobe
Location: Museum gallery